Data protection, Kubernetes, cybersecurity and AI. Hands-on guides from the trenches: Veeam, Kasten, VMware, Oracle, cloud, and whatever I’m breaking in the homelab this week.
Table of ContentsTable of Contents
One of the options that many companies use to host their backups is NFS, in this guide, we will review how to configure an NFS Profile to be used by Kasten K10, in accordance with the good practices that are indicated in the documentation of Kasten.
First of all we must always review the documentation of the technologies that we will use to achieve our objective, in this case we will use Kasten K10 and NFS Subdir External Provisioner, the official information can be found:
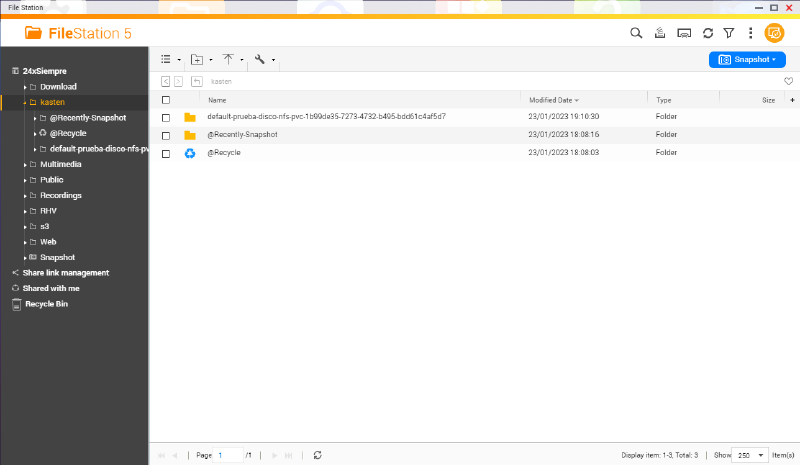
Like any NFS server, it is necessary to create a folder or use an existing one to host the backups, always with its respective access configuration either by Authentication or allowing access by HOST in NFS, for example in my QNAP I have configured the following:
After having this configured, we will move on to the installation and configuration of the NFS Subdir External Provisioner
Again, according to the solution documentation, the first thing we must do is configure the helm repository, so we must execute the following command:
helm repo add nfs-subdir-external-provisioner https://kubernetes-sigs.github.io/nfs-subdir-external-provisioner/
```bash
To then configure with helm and its respective information of the NFS server to use:
Validation of the installation with:
```bash
kubectl get pods
```bash
## Storage Class ConfigurationTo meet the requirements of Kasten K10, we must have a StorageClass, in fact, when installing and configuring with helm, the StorageClass is created automatically:
```bash
kubectl get sc
```yaml
## Creating Persistent Disk using NFSNow, since we have everything, we must test the creation of the PVC using our new StorageClass, for this we will execute the following (modify size and name if necessary):
```yaml
kind: PersistentVolumeClaim
apiVersion: v1
metadata:
name: prueba-disco-nfs
spec:
storageClassName: nfs-client
accessModes:
- ReadWriteMany
resources:
requests:
storage: 100Gi
```bash
Validate configuration in kubernetes and also in our NFS shared folder:
We will now delete this disk to prepare a disk needed for Kasten K10:
```bash
kubectl delete pvc prueba-disco-nfs
```bash
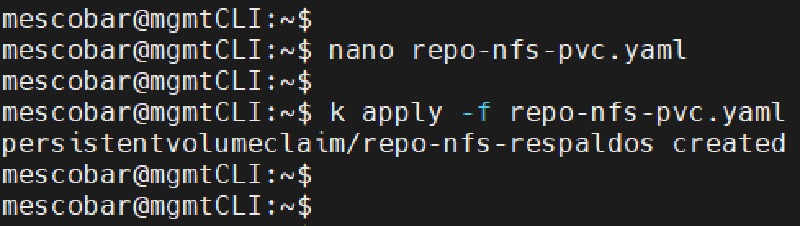
Now we will create the necessary disk for Kasten K10 in its own namespace, with the following file:
```bash
kind: PersistentVolumeClaim
apiVersion: v1
metadata:
name: repo-nfs-respaldos
namespace: kasten-io
spec:
storageClassName: nfs-client
accessModes:
- ReadWriteMany
resources:
requests:
storage: 100Gi
```bash
If we list the PVCs without namespace, we will see that none exist:
```bash
kubectl get pvc
```bash
Now, if we list the PVCs with the namespace kasten-io we will see our new disk:
```bash
kubectl get pvc -n kasten-io