Data protection, Kubernetes, cybersecurity and AI. Hands-on guides from the trenches: Veeam, Kasten, VMware, Oracle, cloud, and whatever I’m breaking in the homelab this week.
Table of ContentsTable of Contents
Continuing our series of guides on protecting applications running on Kubernetes services in public clouds, it’s now the turn of Microsoft Azure Kubernetes Service (Azure AKS), where we walk step by step through installing, configuring, and running backup policies with Kasten K10, integrating the console with the K10 Multi-Cluster Manager for centralized management and protection of applications on AKS.
You should always consult Kasten’s official documentation. For the installation, review the following links and, of course, never skip running the “Pre-Flight Checks”:
Now let’s connect to our AKS cluster via the CLI, either from the console interface in the Azure portal or from the machine where you manage your Kubernetes clusters. If you don’t have your kubeconfig file set up yet, just run the following command in the Azure shell:
az aks get-credentials -g 24xsiempre -n demoaks
```bash
After "-g" you enter the name of the associated "Resource Group", and after "-n" the name of the AKS cluster. This command creates the "config" file inside the ".kube" folder in the user's home directory. To validate it, you can list the AKS cluster nodes by running:
```bash
kubectl get nodes -o wide
```bash
## Install Kasten K10 on Azure AKS
Now that we are connected to the Azure AKS cluster, let's run the prerequisites command from Kasten's documentation. We'll create the "kasten-io" namespace and then run the script:
```bash
helm repo add kasten https://charts.kasten.io/
kubectl create namespace kasten-iocurl https://docs.kasten.io/tools/k10_primer.sh | bash
```bash
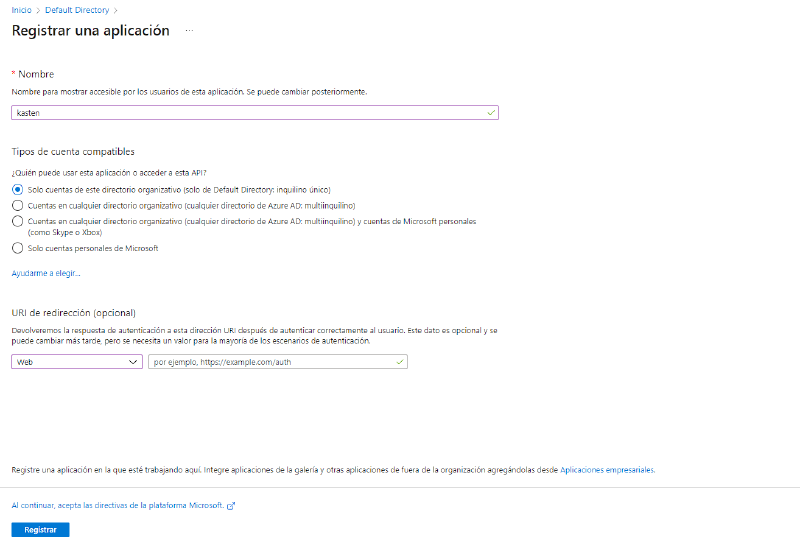
Pay close attention to the messages returned by the pre-check script, as it will flag that a "VolumeSnapshotClass" is needed for the StorageClass used by defaultin AKS, which we'll address later. Before proceeding with the installation via "helm", we must register an application in Azure to obtain the necessary variables. So, in the Azure portal, under the default directory, we'll create a new application:
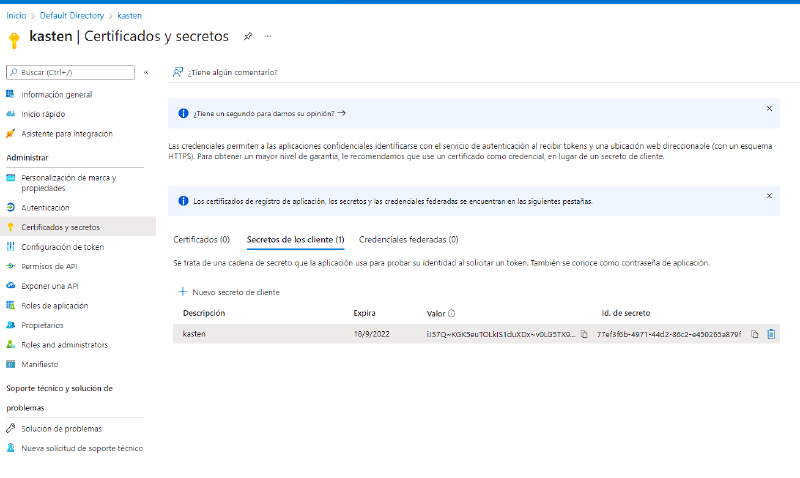
Next, we'll create the key under "Certificates and Secrets", assign it a name, and create it:
After creating the application in Azure, we'll collect the following values:
- azureTenantId
- azureClientId
- azureClientSecret
You'll find the first two IDs in the "Overview" of the created application, and the third one, the secret, you copy from the step above, in order to build the following command:
```bash
helm install k10 kasten/k10 --namespace=kasten-io \
--set secrets.azureTenantId=9afedb96-a2f5-4e9c-a78a-123456789012 \
--set secrets.azureClientId=849b0886-5fa1-4464-863d-123456789012 \
--set secrets.azureClientSecret=REPLACE_WITH_YOUR_AZURE_CLIENT_SECRET \
--set externalGateway.create=true \
--set auth.tokenAuth.enabled=true
```bash
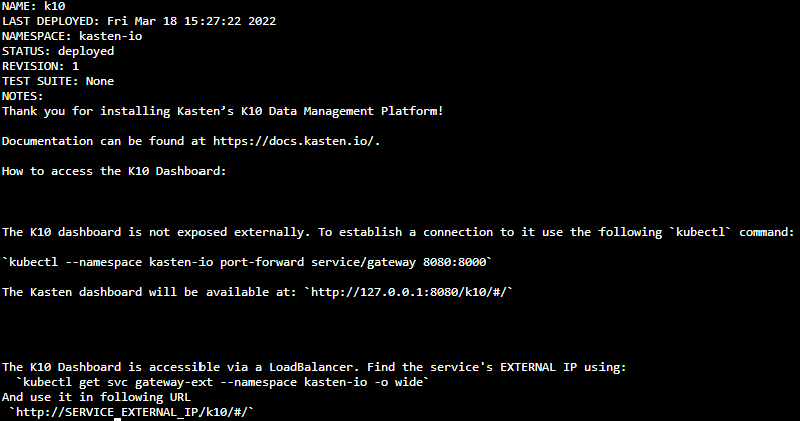
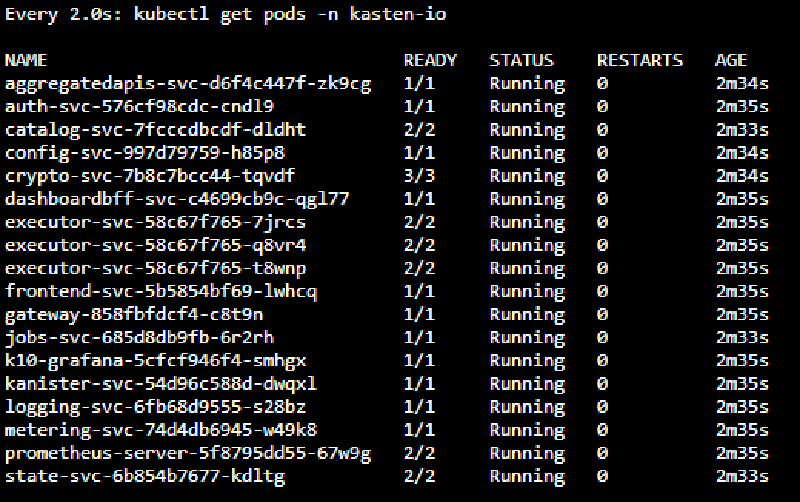
With that, we install Kasten K10 on Azure AKS, including the creation of the "LoadBalancer" and token authentication, which we've covered on many occasions. To confirm that Kasten K10 is working correctly, run the command:
```bash
kubectl get pods -n kasten-io```bash
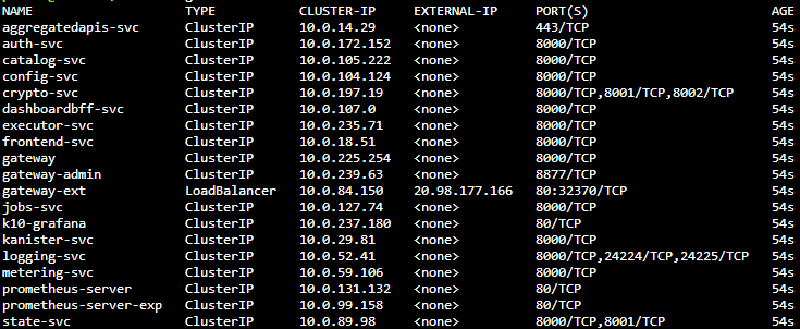
Once all the pods are in the "Running" state, we'll check the IP address used to access the Kasten K10 web interface with the following command:
```bash
kubectl get svc -n kasten-io
```bash
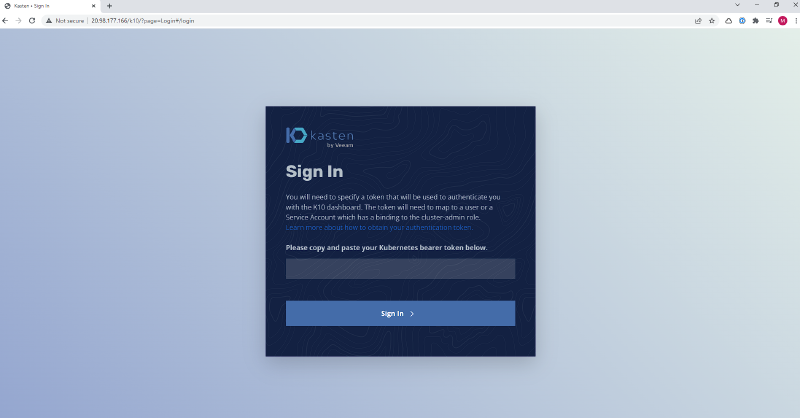
So, in this case, the console is accessible at http://20.98.177.166/k10/, where we can authenticate via token:
If you're not sure how to extract the token yet:
```bash
sa_secret=$(kubectl get serviceaccount k10-k10 -o jsonpath="{.secrets[0].name}" --namespace kasten-io)
kubectl get secret $sa_secret --namespace kasten-io -ojsonpath="{.data.token}{'\n'}" | base64 --decode
```bash
## Integration with the K10 Multi-Cluster ManagerIf you don't have the K10 Multi-Cluster Manager installed yet, check:
[Install Kasten Multi-Cluster Manager](/en/install-kasten-multi-cluster-manager/)
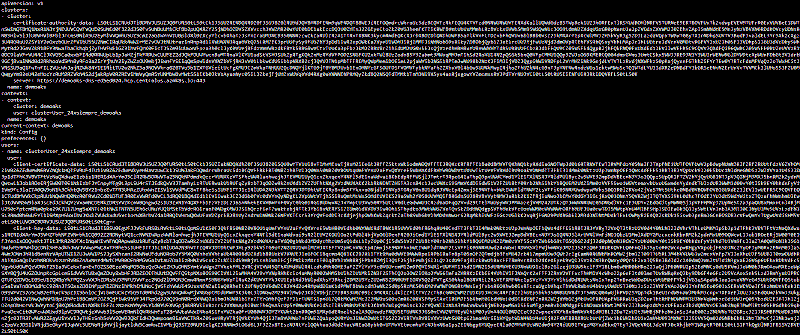
In this case, for Microsoft AKS we need to copy the AKS cluster's kubeconfig. Within the Azure shell, run:
```text
cat .kube/config
```bash
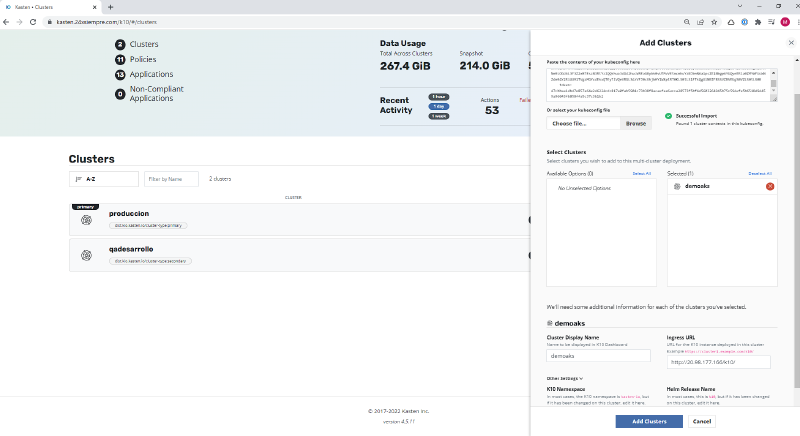
We copy the kubeconfig and paste it into our K10 Multi-Cluster Manager after clicking "Add Cluster":
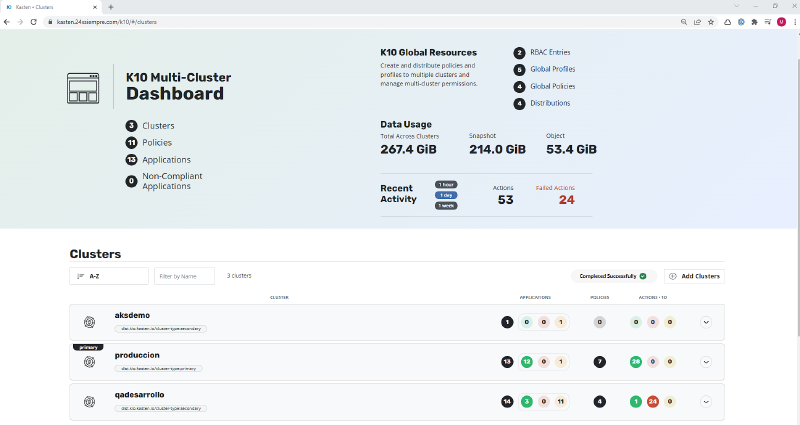
One important note: in this case there's no need to prepare the kubeconfig file with the k10multicluster executable, as some other providers require. The configuration is straightforward: you enter the name the cluster will appear under, the "Ingress URL" address, and finally disable TLS verification. If you have TLS enabled, just leave it at the default, and you'll see the AKS cluster in the Multi-Cluster console:
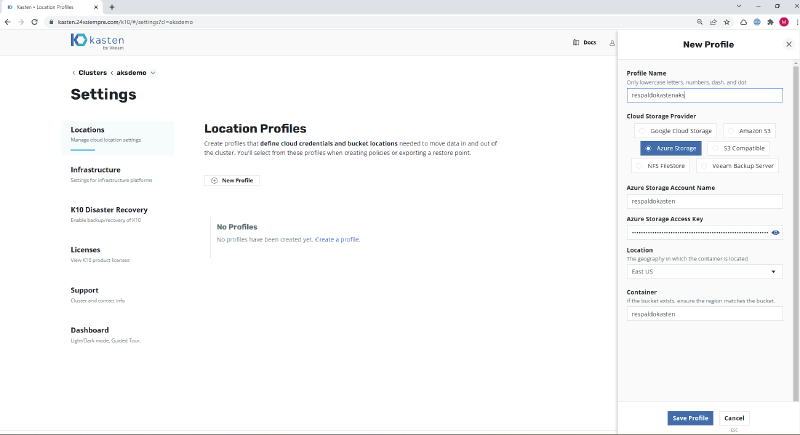
## Azure Blob StorageNow we'll configure a repository under "Location Profiles" to store our backups. Enter a name, select "Azure Storage", and provide the credentials, location, and container:
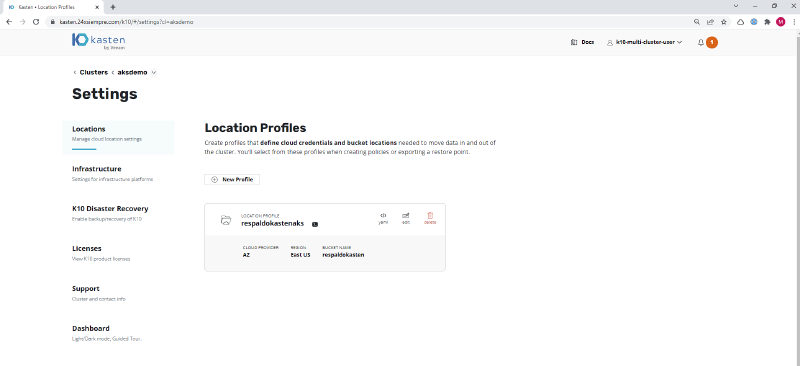
Once you save the "Profile", you'll have your repository to store backups, and it will look like this:
## Azure AKS Backup PolicyWe'll create a basic backup policy by selecting "Snapshot" and using the repository we created earlier, then run the policy:
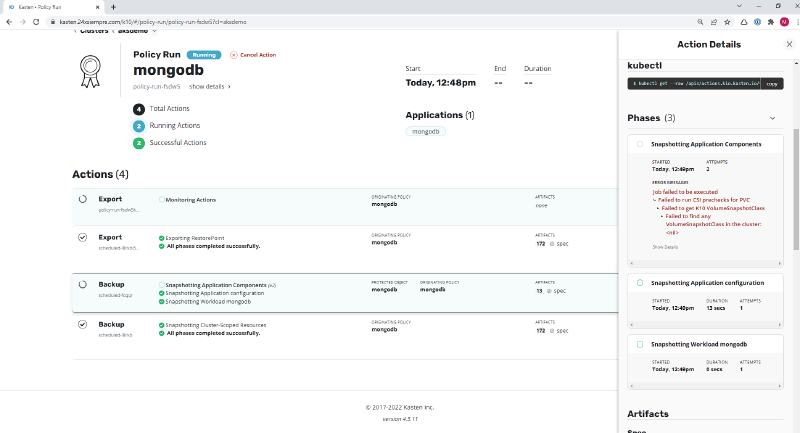
When the policy runs and tries to take a snapshot of the persistent volume in use, in this case MongoDB, it will display the following error:
```text
...
Failed to run CSI prechecks for PVC
Failed to get K10 VolumeSnapshotClass
...
```bash
This is exactly why it's so important to run the "Pre-Flight Checks" script: the first time you run it, it flags that the "VolumeSnapshotClass" doesn't exist, as we saw earlier. So we'll go ahead and create the VSC with the following command:
```bash
cat <<EOF | kubectl apply -f -
apiVersion: snapshot.storage.k8s.io/v1beta1
kind: VolumeSnapshotClass
metadata:
annotations:
k10.kasten.io/is-snapshot-class: "true" name: csi-azure-vsc
driver: disk.csi.azure.com
deletionPolicy: Delete
parameters:
incremental: "true"EOF
```bash
And then we run the "Pre-Flight Checks" script again:
```bash
curl https://docs.kasten.io/tools/k10_primer.sh | bash
Now we’ll see the success message confirming that this VSC is correctly configured with the default StorageClass. Then run the backup policy again and it will complete successfully:
For the backup, we can see the files generated by Kasten K10 in the Azure Blob container we configured earlier under “Location Profiles” by opening the Storage explorer in the Microsoft Azure portal:
As always, security comes first: restrict access to trusted addresses, apply RBAC to access via the Multi-Cluster Manager, and, where needed, grant service accounts the least privilege required to operate.