Data protection, Kubernetes, cybersecurity and AI. Hands-on guides from the trenches: Veeam, Kasten, VMware, Oracle, cloud, and whatever I’m breaking in the homelab this week.
Table of ContentsTable of Contents
One of the most widely used Kasten K10 features is its integration with centralized authentication and identity systems through various protocols, to manage access to Kubernetes clusters using RBAC via K10 and to enable K10 Multi-Cluster access in environments with multiple Kubernetes clusters. In this post, we walk through the straightforward setup of Authentik and its integration with Kasten K10.
In this guide we will see just how easy it is to configure Authentik with Kasten K10, using the default variables from the Kasten K10 installation for the groups it relies on for role-based access management.
As usual, we will start by reviewing the official documentation for the resources we are going to use.
What is Authentik? As we have already seen on this blog, there are many open source solutions for identity and role management, Kubernetes integration, and single sign-on (SSO). We previously covered Keycloak, and in this post we will look at Authentik, another platform widely used across companies for managing single sign-on, as well as protecting application access through authentication over different protocols or via a proxy.
Kasten K10 supports multiple authentication protocols. Here we will use OpenID, which lets us easily authenticate between Authentik and Kasten K10 for centralized user management. Installing Authentik is very simple and can be done in several ways. In my case, I installed it on Kubernetes with Helm. You can review the options at:
After installation, Authentik prompts you to create the credentials for the initial “akadmin” user. Once logged in to Authentik, we open the “Administrator Interface”:
From the menu, go to “Customisation”, “Property Mappings”, and finally click “Create”:
At this stage we select “Scope Mapping”, click “Next”, and add the “groups” scope along with the expression shown in the following image:
return {
        "groups": [group.name for group in request.user.ak_groups.all()],
}

```bash

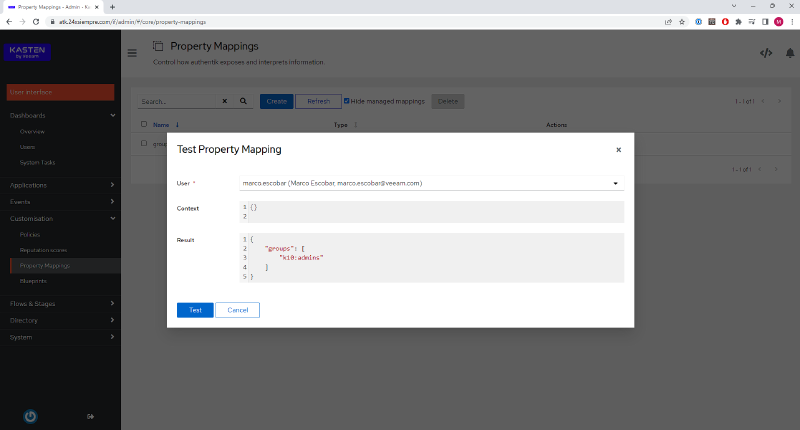
With this configuration in place, we can use or map the Kasten K10 groups to assign access to the K10 console. In other words, we can create users in Authentik, create and assign K10 groups to those users, and grant them access. To confirm it works correctly, click the test icon, select a user, and press "Test":


When it returns the groups the user belongs to, it means the "Scope" is working correctly. If the user has no groups assigned, nothing will be shown. So we will now proceed to create the first administration group for Kasten K10 in Authentik.

## Creating Users and Groups in Authentik

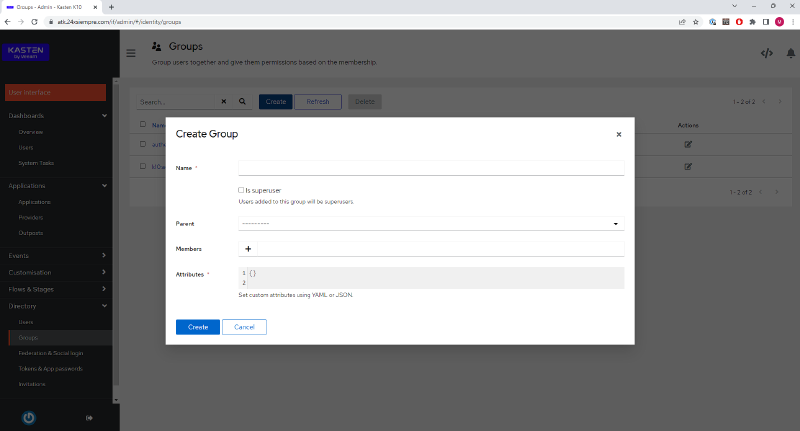
To integrate Authentik with Kasten K10, we of course need to create users and groups tied to K10. In this case, we will start by creating the "k10:admins" group, which grants administrator access to the K10 console or Multi-Cluster Manager. Go to "Directory", then "Groups", and click "Create":


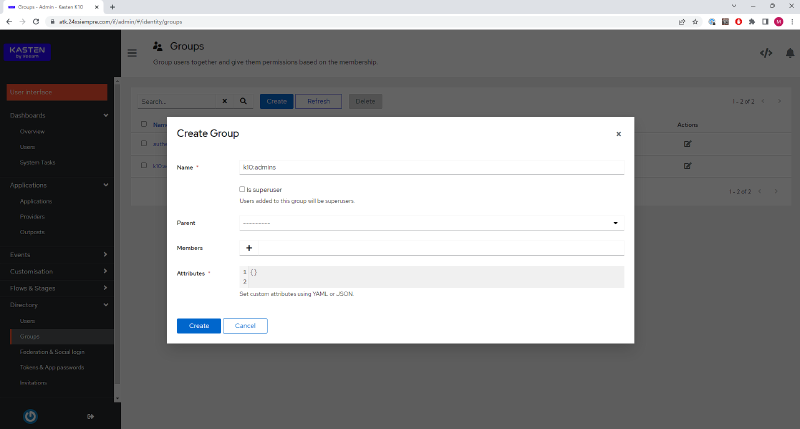
Enter the group name "k10:admins" and click "Create":


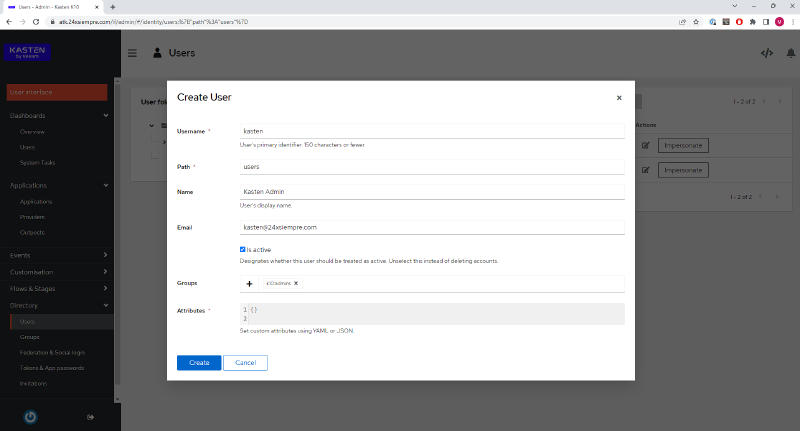
Now we will create a user and, during that same step, add it to the group we just created. So we go to "Directory" and then "Users", enter the "Username", "Name", and "Email", and by clicking "+" we add it to the group we created earlier.


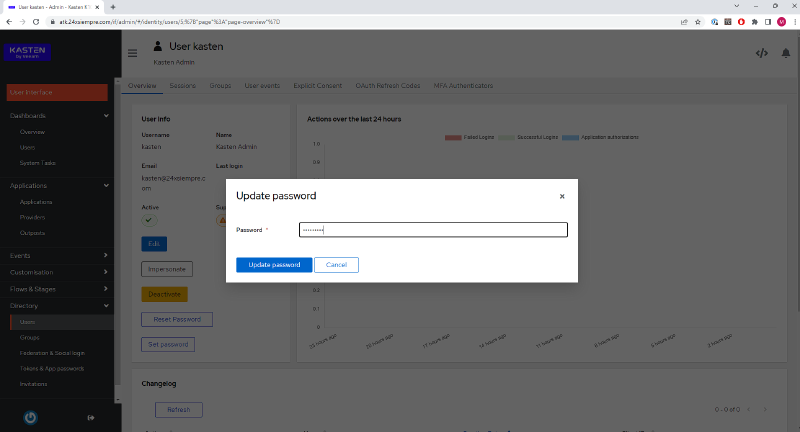
Next, we select the newly created user, click "Set Password", and enter the desired password:


## Creating OpenID in Authentik

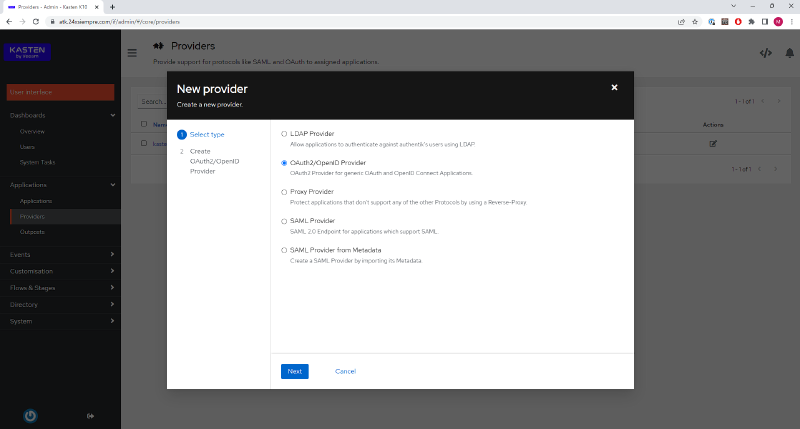
Now, for Authentik to integrate with Kasten K10, we need to enable and configure the OpenID protocol. Go to "Applications", then "Providers", and click "Create":


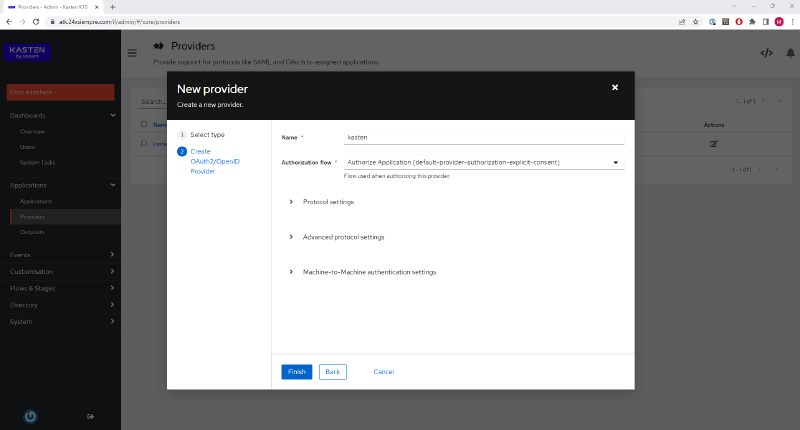
At this stage we select "OAuth2/OpenID Provider" and click "Next" to move on to the most important step. Now we enter the name and leave "Authorization Flow" at its default:


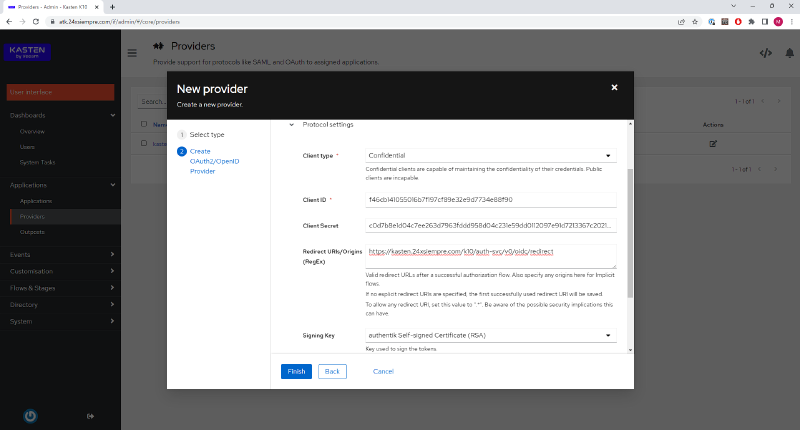
Now, under "Protocol Settings":


Where:

- **Client Type:** Confidential
- **Client ID:** Generated automatically ( **copy it to a notepad**)
- **Client Secret:** Generated automatically ( **copy it to a notepad**)
- **Redirect Uri / Origins:** https://kasten.24xsiempre.com/k10/auth-svc/v0/oidc/redirect
- **Signing Key:** Authentik Self-signed

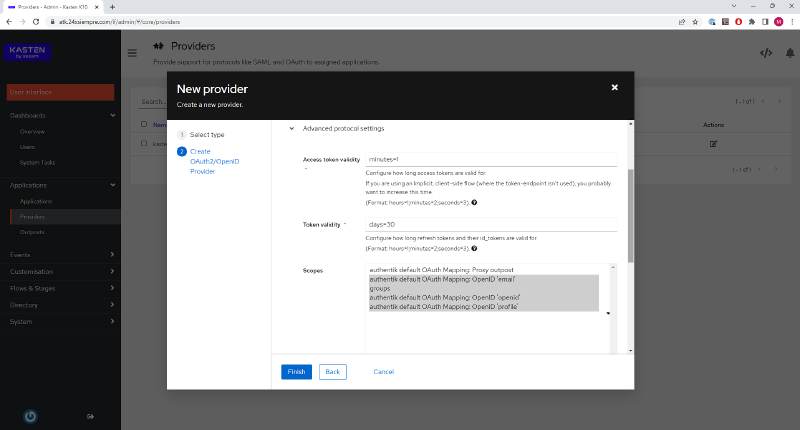
Then, under "Advanced protocol Settings", make sure the "groups" scope is selected:


And finally click "Finish".

## Creating an Application in Authentik

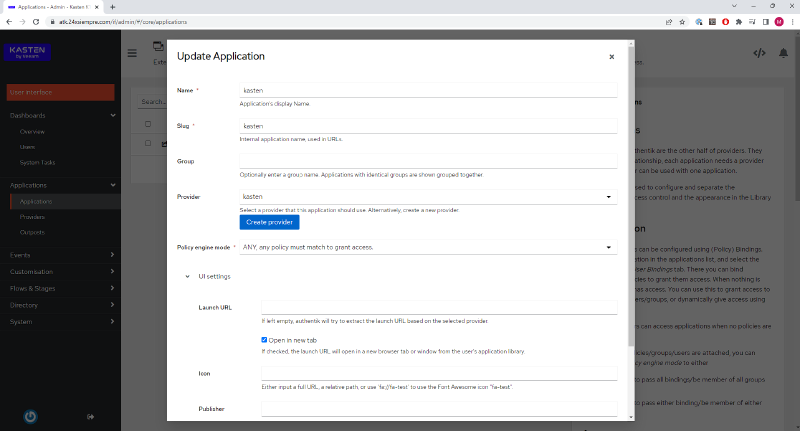
For Authentik to provide the service, an application is created. Go to "Applications" and again to "Applications", click "Create", enter the "Name" and the "Slug", and under "Provider" select the OpenID provider we created earlier, finishing by clicking "Create":


## Configuring Kasten K10

As we saw earlier in the documentation, [https://docs.kasten.io/latest/access/rbac.html#k10-admin-binding](https://docs.kasten.io/latest/access/rbac.html#k10-admin-binding), we have the "k10:admins" group and we have already mapped it in our Authentik installation. Next we will look at the command to run on our Kasten K10 installation or on the primary cluster of the K10 Multi-Cluster Manager:

```bash
helm upgrade k10 kasten/k10 --namespace=kasten-io --set auth.oidcAuth.enabled=true --set auth.oidcAuth.providerURL="https://atk.24xsiempre.com/application/o/kasten/" --set auth.oidcAuth.redirectURL="https://kasten.24xsiempre.com/" --set auth.oidcAuth.scopes="groups profile email" --set auth.oidcAuth.groupClaim="groups" --set auth.oidcAuth.prompt="login" --set auth.oidcAuth.clientID="SuperDuperClientID" --set auth.oidcAuth.clientSecret="SuperDuperClientSecret" --set auth.oidcAuth.usernameClaim="email" --reuse-values --set externalGateway.create=true
Now let us look at what each of these variables means:
Which authentication protocol does Kasten K10 use to integrate with Authentik?
Kasten K10 supports several protocols, but in this guide we use OpenID Connect (OIDC), which lets you authenticate between Authentik and K10 in a centralized way. It is enabled with the auth.oidcAuth.enabled=true variable in the K10 helm upgrade.
What is the "k10:admins" group used for in Authentik?
The k10:admins group grants administrator access to the Kasten K10 console or the Multi-Cluster Manager. When you create that group in Authentik and assign it to a user, K10 recognizes it through the groups claim and applies the admin binding defined in its default RBAC.
Why do I need to create a "Scope Mapping" Property Mapping with the "groups" scope?
That Scope Mapping exposes the user’s groups in the token Authentik sends to K10. Without it, K10 would not receive the list of groups and could not map them to its RBAC roles. You can validate it with the “Test” button, which shows the groups the user belongs to.
What value should I set for the OpenID provider's Redirect URI?
The Redirect URI must point to the K10 callback endpoint, in this case https://kasten.24xsiempre.com/k10/auth-svc/v0/oidc/redirect, adjusting the domain to your own installation. You also need to make sure the “groups” scope is selected under Advanced Protocol Settings.
What does the externalGateway.create=true variable do in the Helm command?
externalGateway.create=true reconfigures the K10 gateway service to expose it and allow remote access to the console. This is useful when you access K10 from outside the cluster through the domain set in redirectURL.
Why is usernameClaim="email" used in the K10 configuration?
auth.oidcAuth.usernameClaim="email" tells K10 to use the user’s email as the identifier for the authenticated session. That way, the email defined in Authentik is what appears as the user inside K10 after signing in.