Data protection, Kubernetes, cybersecurity and AI. Hands-on guides from the trenches: Veeam, Kasten, VMware, Oracle, cloud, and whatever I’m breaking in the homelab this week.
Table of ContentsTable of Contents
Red Hat OpenShift is one of the most widely used enterprise platforms for managing, operating, and maintaining containers. In this guide we will look at how to protect your containers on Red Hat OpenShift 4.x integrated with VMware vSphere through its Container Storage Interface using the Kasten K10 Platform, configuring routes to reach the K10 admin interface and using Minio S3 as the backup target.
As always, we should start by reviewing the official documentation for each product. Let’s begin with Red Hat OpenShift 4.7 (the latest version at the time of writing):
This documentation covers the requirements and the installation method for Red Hat OpenShift 4.7 via IPI (Installer Provisioned Infrastructure), where you run the installer and simply provide the requested VMware vCenter details. I won’t explain how to install OpenShift in this post, since it’s very straightforward with IPI. We should, however, review a very important part of the OpenShift documentation regarding volumes:
The default Storage Class that OpenShift configures through IPI is named “thin” and uses kubernetes.io/vsphere-volume. When a persistent volume is requested for the containers, this storage class provisions independent, persistent disks from vSphere, so, as we know, we won’t be able to take snapshots of those volumes. That’s why it’s important to review the documentation referenced above.
And of course, review the Kasten K10 Platform documentation, currently at version 3.0.9 (as of this post), for the requirements and installation steps on Red Hat OpenShift:
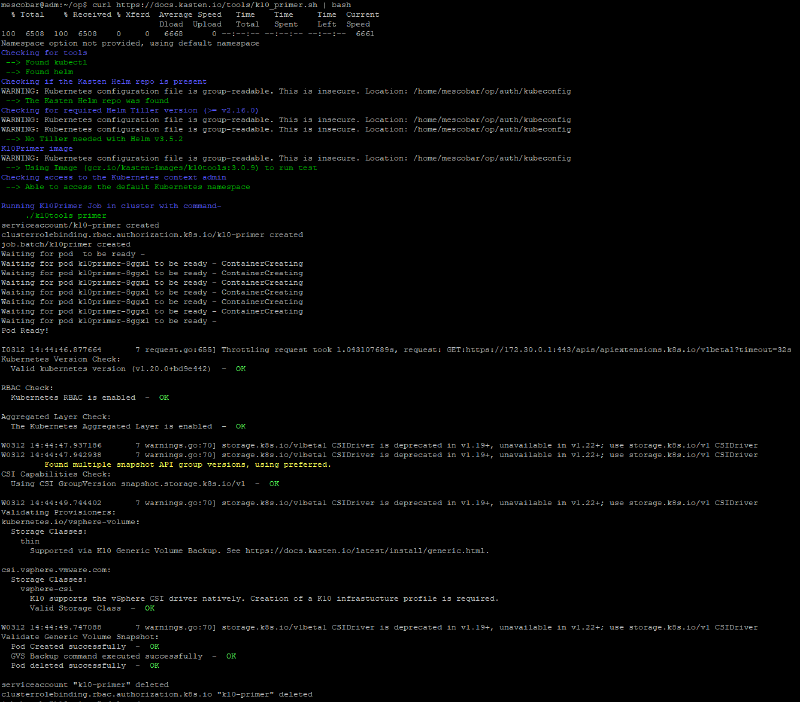
Before installing Kasten on any Kubernetes distribution, you should always run a pre-installation script to perform preflight checks and validate whether your environment supports the Kasten K10 features, with the following command:
curl https://docs.kasten.io/tools/k10_primer.sh | bash
```bash
If the helm executable isn't found, you can review the prerequisite installation in the Kasten installation section of this link:
[/veeam-kasten/](/en/veeam-kasten/)
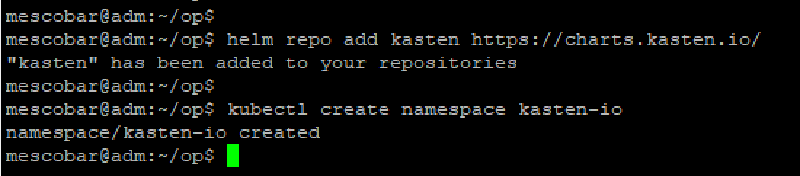
Now that the prerequisites are in place, helm, kubectl, and vSphere CSI (version 2.1.1 in this case), we'll start installing Kasten K10. As the documentation indicates, we need to run two commands:
```bash
helm repo add kasten https://charts.kasten.io/
kubectl create namespace kasten-io
```bash
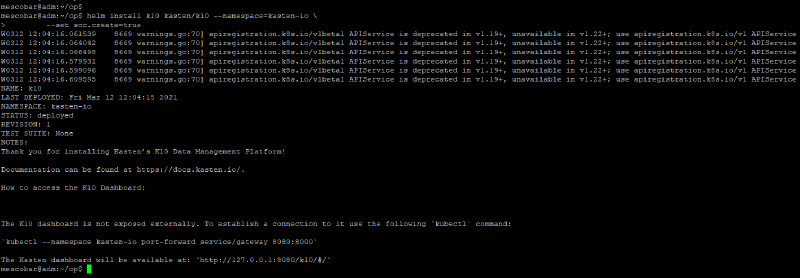
With everything pre-configured, the only step left is the installation itself. As indicated in the Kasten documentation, we run the following command:
```bash
helm install k10 kasten/k10 --namespace=kasten-io \
--set scc.create=true```bash
As shown in the previous image, Kasten K10 is now installed on OpenShift. Next we'll check the status of the pods with this command:
```bash
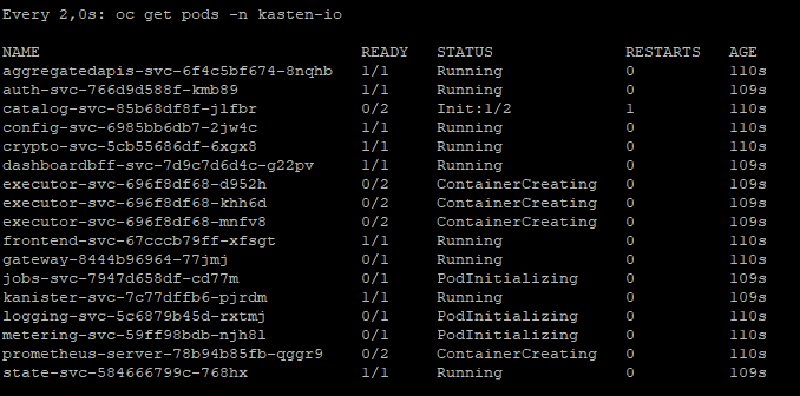
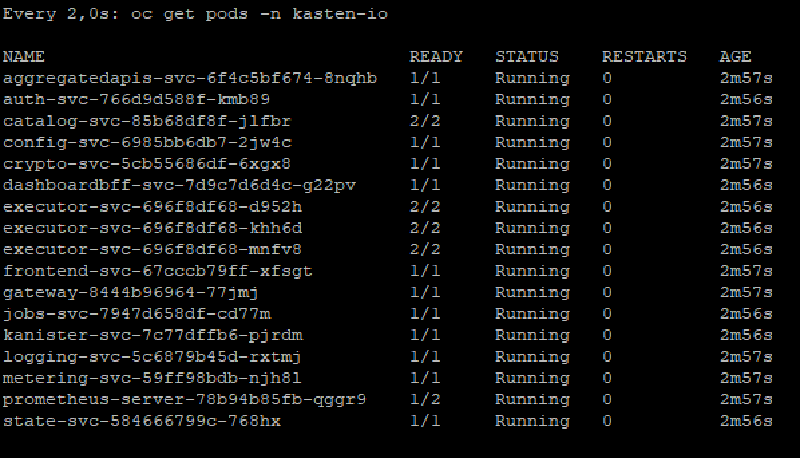
watch oc get pods -n kasten-io
```bash
We need to waituntil all of the Kasten pods are in the "running" state.
And if we check the persistent volumes that Kasten uses from the command line:
```bash
oc get pv,pvc
We can see that it’s using the vsphere-csi Storage Class, associated with the volumes that we can also see in the datastore we use in vCenter:
As well as in the Red Hat OpenShift console:
Accessing the K10 Dashboard via a Route in OpenShift#
To reach the Kasten K10 management console, we just need to create a route in OpenShift to expose our service. In this case we’ll do it through the Red Hat OpenShift web console. Go to Networking -> Routes and, in the upper left corner, select the “kasten-io” project.
Here we’ll create the route by clicking “Create Route” and entering the following information:
Name: whatever name you want, in this case “k10”
Hostname: leave it blank to have one assigned, or enter one of your own
Path: default
Service: select the “gateway” service
Target Port: select the only one available, otherwise just 8000 -> 8000 TCP
Then, after clicking “Create”, it will show the details and the access link listed under " Location".
Next, click or copy the URL found under " Location" and append “/k10/#/” to reach the management console. In my case the URL would be:
Going into “Settings” and selecting “Infrastructure”, we’ll create a new “Profile”.
Where:
Profile Name: vcenter, or whatever name you want
Infrastructure Type: vSphere
vCenter Server: the vCenter IP or DNS address, preferably the FQDN
vSphere User: a vCenter user with privileges
vSphere Password: the password
With all of this configured, you’ll be able to run backups using the CSI interface for vSphere, creating snapshots of the persistent volumes that live in the configured datastores.
And of course, you can review how to create backup policies with Kasten K10 in /veeam-kasten/