Tremendous news with the release of version 11 of Veeam Availability Suite containing over 200 enhancements, CDP Snapshotless Replication, Instant Recovery for NAS / Databases and also Veeam Hardened Repository. In this post we will focus on the installation, configuration in detail of this new type of repository that will allow us to keep our backups immutable!
Initial Steps
As usual, we will always check the official documentation of Veeam, for this case of the Immutable Linux Repository:
https://helpcenter.veeam.com/docs/backup/vsphere/hardened_repository.html?ver=110
Where we can see all the requirements for this feature where one of the most important is that the backup jobs should use Forward Incremental with Full or Synthetic backups for the correct operation of immutability.
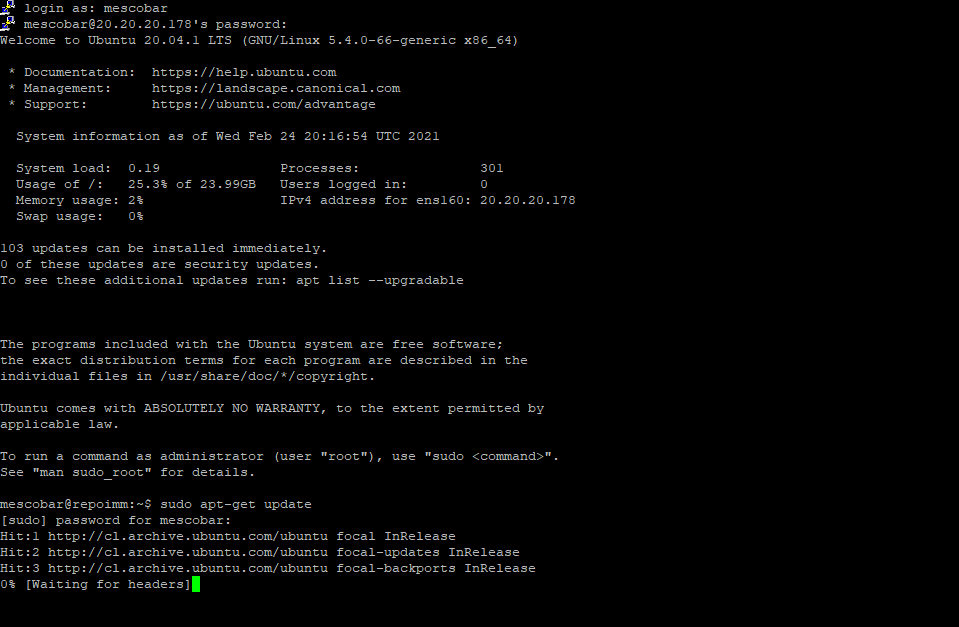
After reading the documentation we go to the base installation of a Linux Ubuntu 20.04 LTS and after finishing, we coneWe connect via SSH and perform the operating system update:
sudo apt-get update -y
sudo apt-get upgrade -y
After the update, we will shut down the Linux server with the command:
sudo poweroff
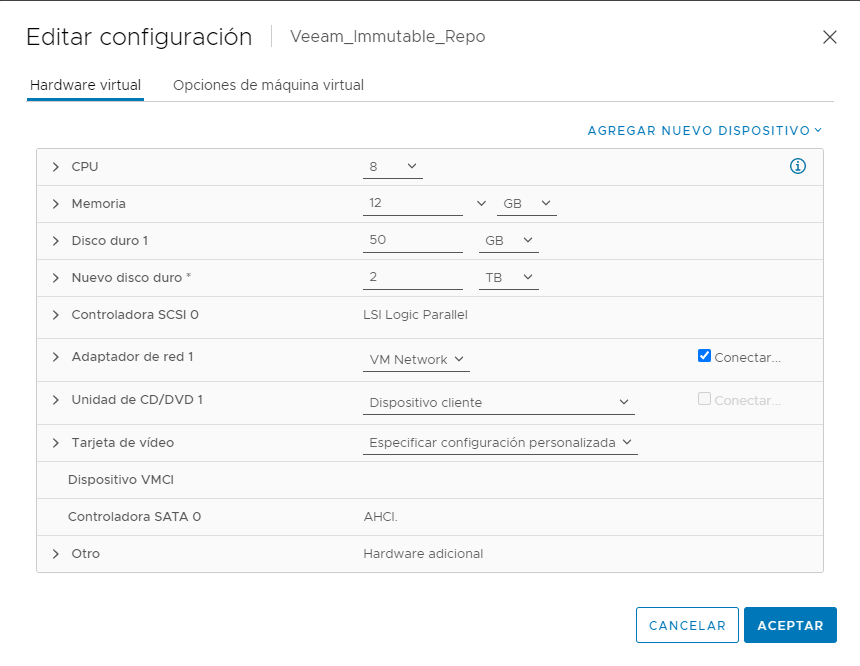
In my case, being a virtual machine, I will add a disk of the necessary size to use it as a repository, therefore, we edit the VM configuration and add a disk (for this LAB I will add a 2 TB disk) and then we turn on the machine :
Veeam Repos Manager
Again we coneWe connect via SSH and in this case we will use a great tool, Veeam Repo Manager, to further facilitate the configuration of the immutable repository of Veeam, found on the Github by Timothy Dewin, Solution Architectones in Veeam:
https://github.com/tdewin/veeamhubrepo
This tool allows us to visually configure all the requirements to achieve the correct configuration of the repository, therefore, we will proceed to install it.
Installation and configuration
Since we are coneConnected via SSH to the Linux Ubuntu 20.04 LTS server and we also add disk to store the backups, we must execute the following:
sudo wget -O ./veeamhubrepo.deb https://github.com/tdewin/veeamhubrepo/releases/download/v0.3.1/veeamhubrepo_noarch.deb
sudo apt-get install ./veeamhubrepo.deb
sudo veeamhubrepo

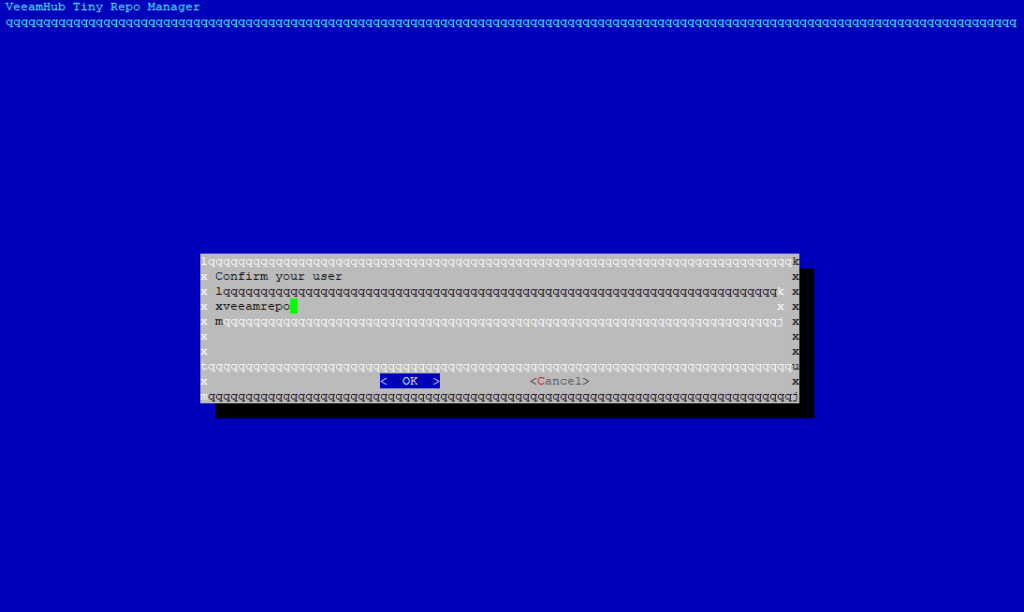
And with the last command we run “sudo veeamhubrepo ” will show us the wizard of this tool:
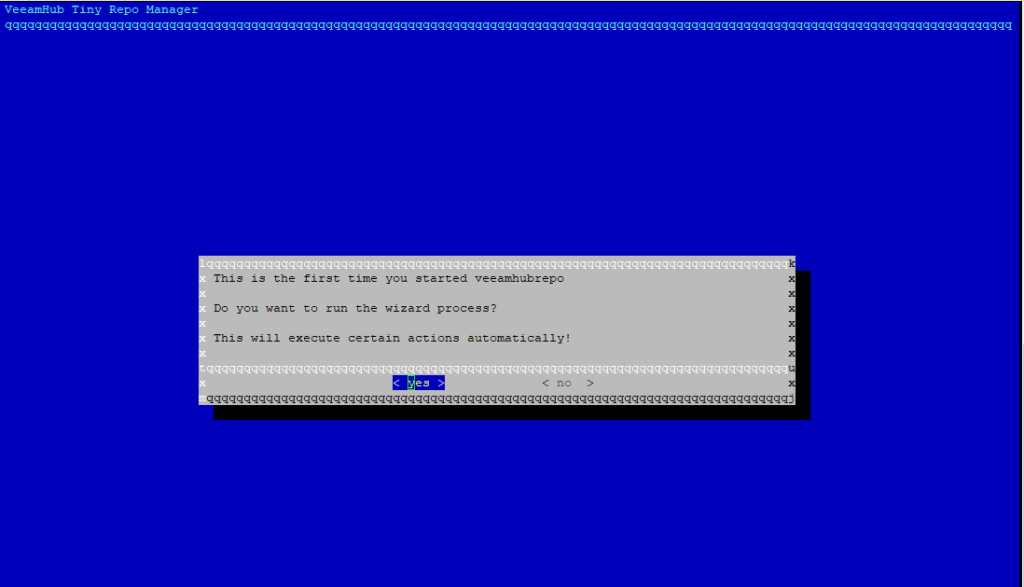
Where we will select "Yes" by pressing "Enter" and then enter the username that will have the momentary privileges to use immutability, by default it is "veeamrepo”, if you want to change it, do it according to your user nomenclature, if not, leave it as default:
Then we select "OK" to indicate that the user does not exist and confirm its creation:
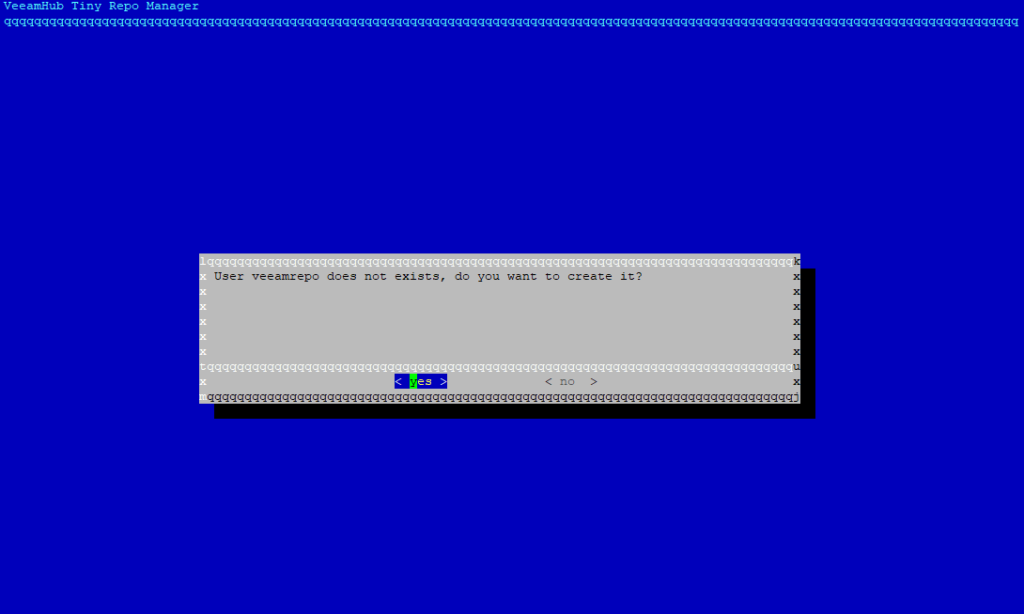
We select “Yes” and enter the password for this user:
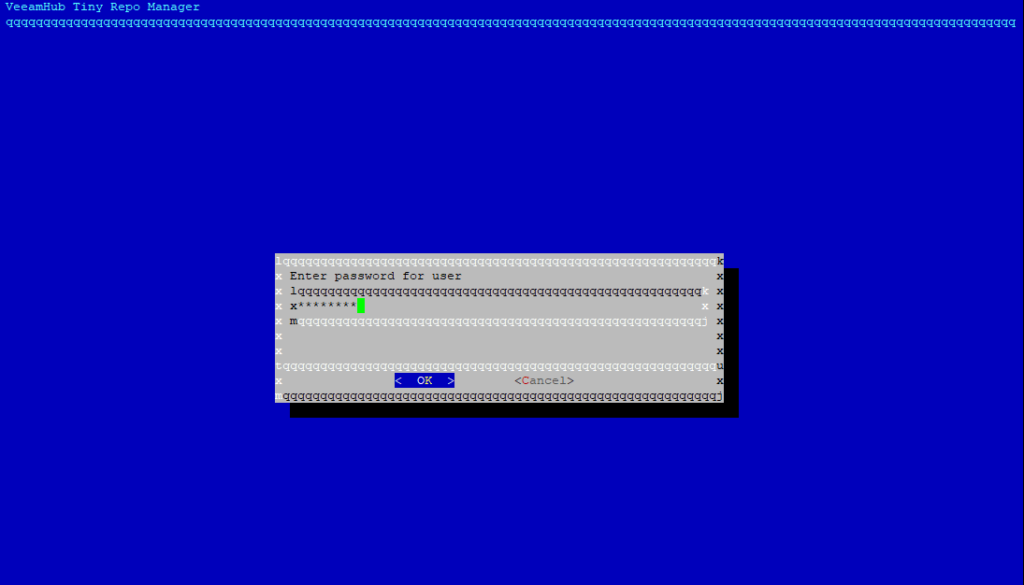
Then it will confirm that the user was created and we select "OK" so that we can go to the configuration of the partition of the added disk:
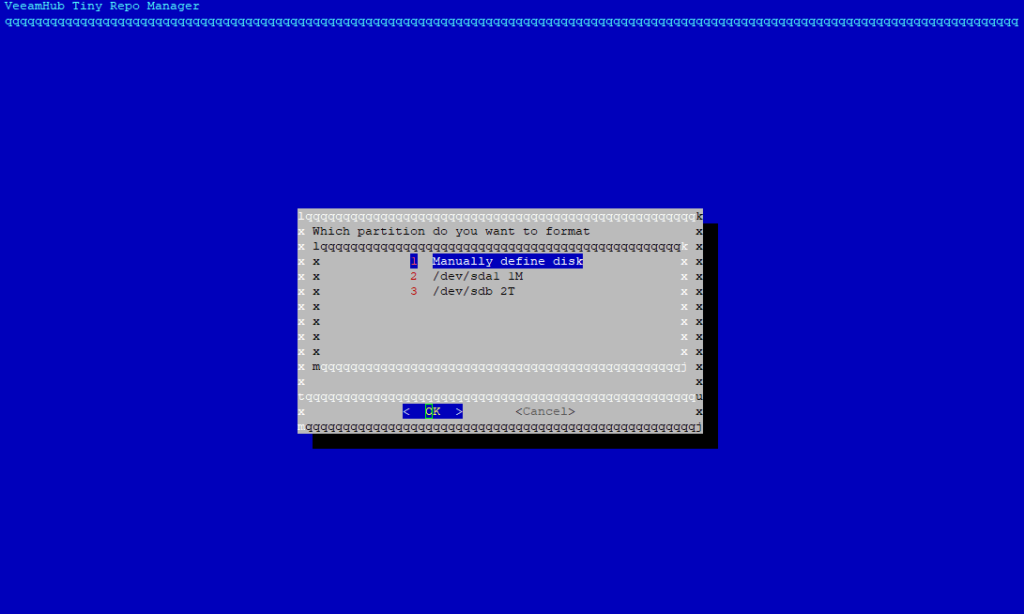
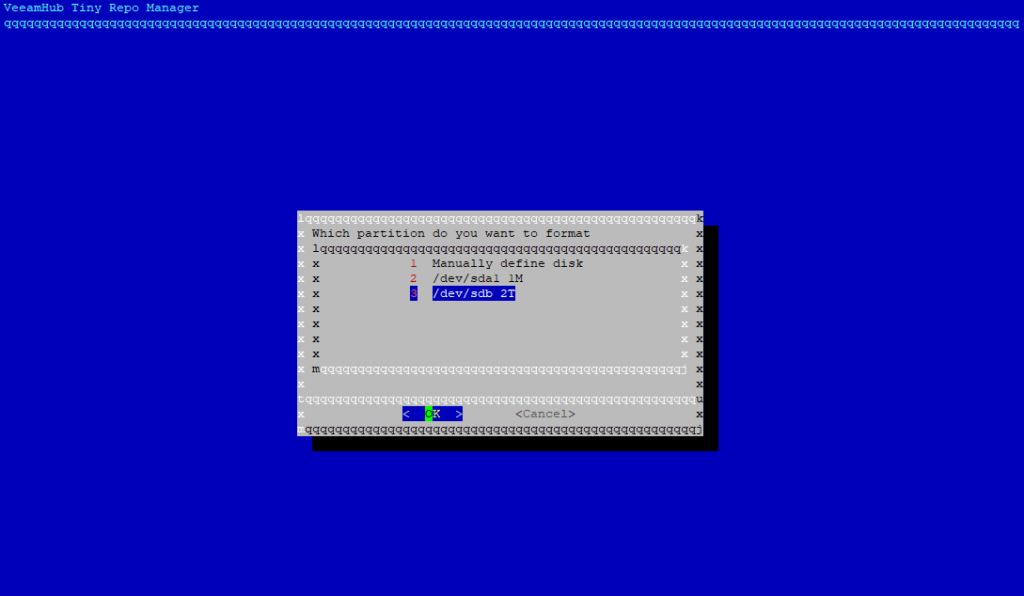
In this LAB I need to select the disk number "3" which we additionally add 2 TB, moving with the keyboard arrows and then press "Enter", in your case you must select the disk that you added:
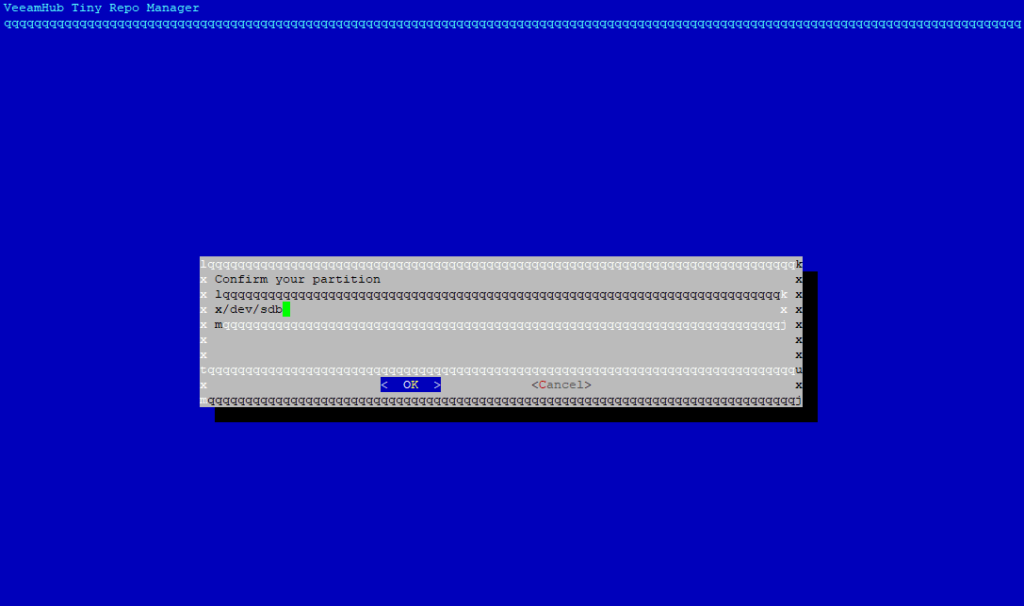
We confirm the selection and then “OK”
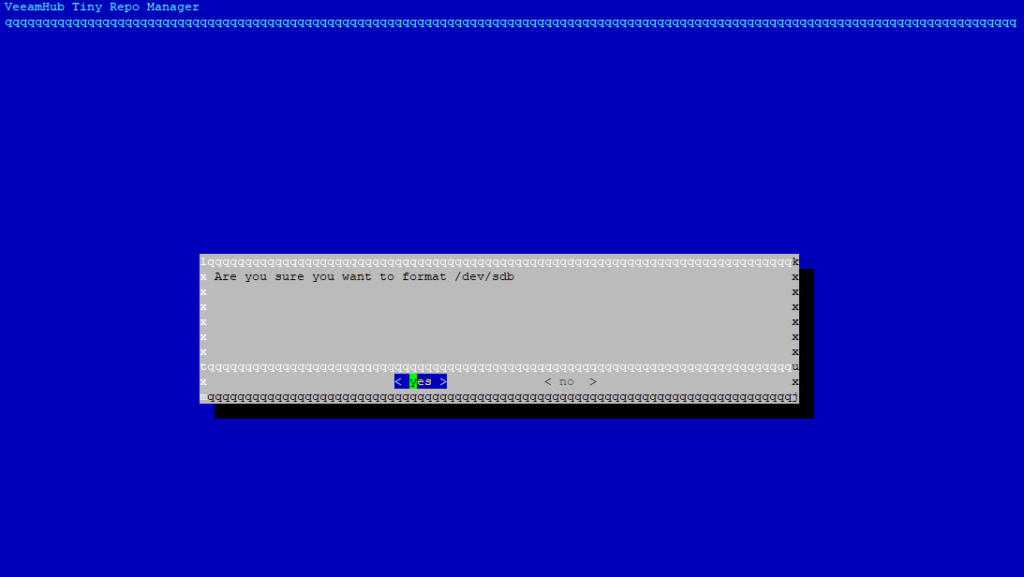
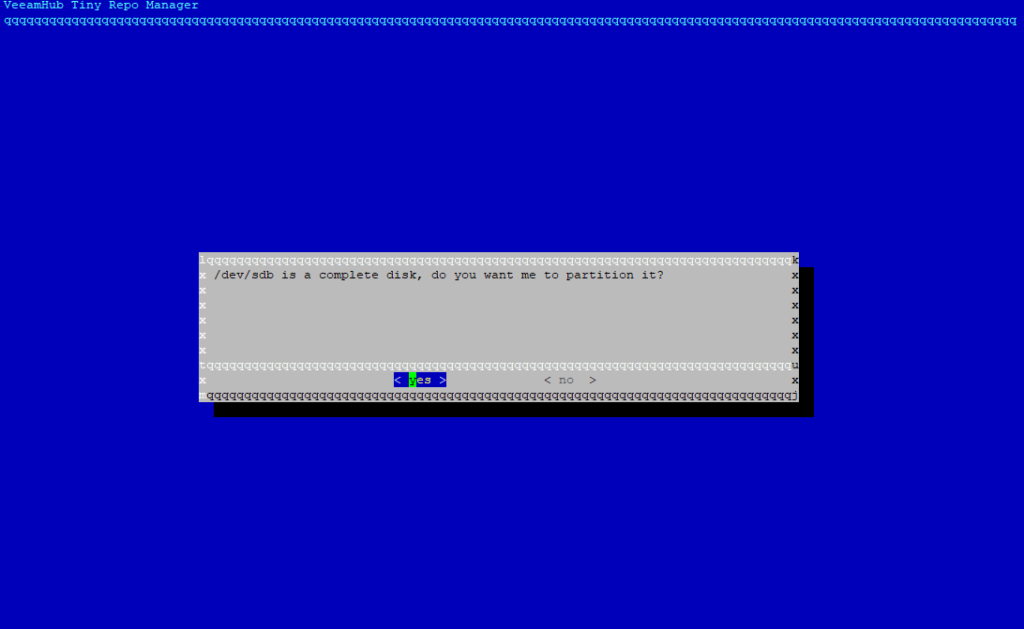
After confirming and applying the changes, it will indicate in which path or path the disk will be mounted:
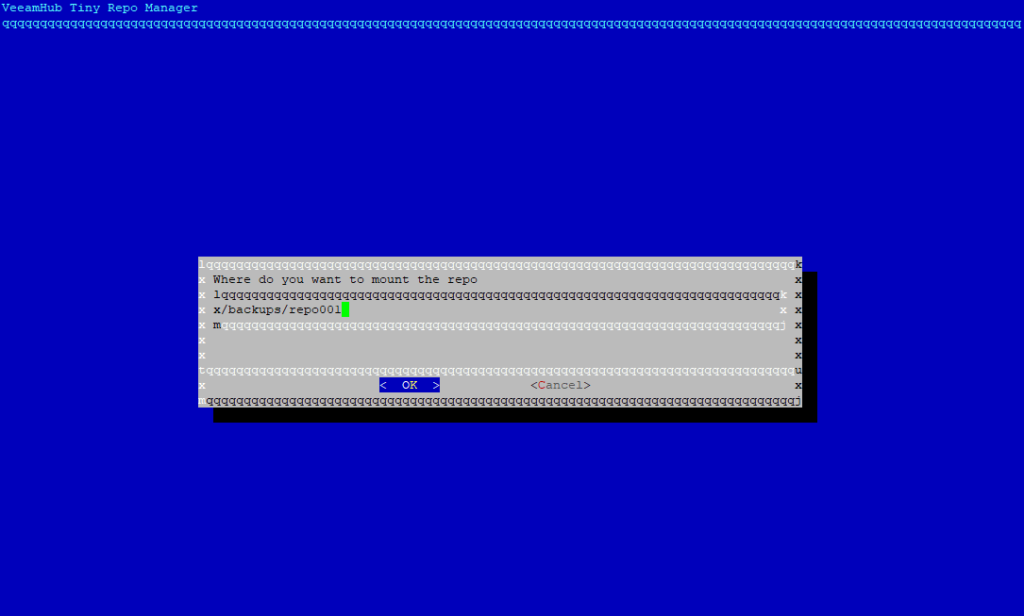
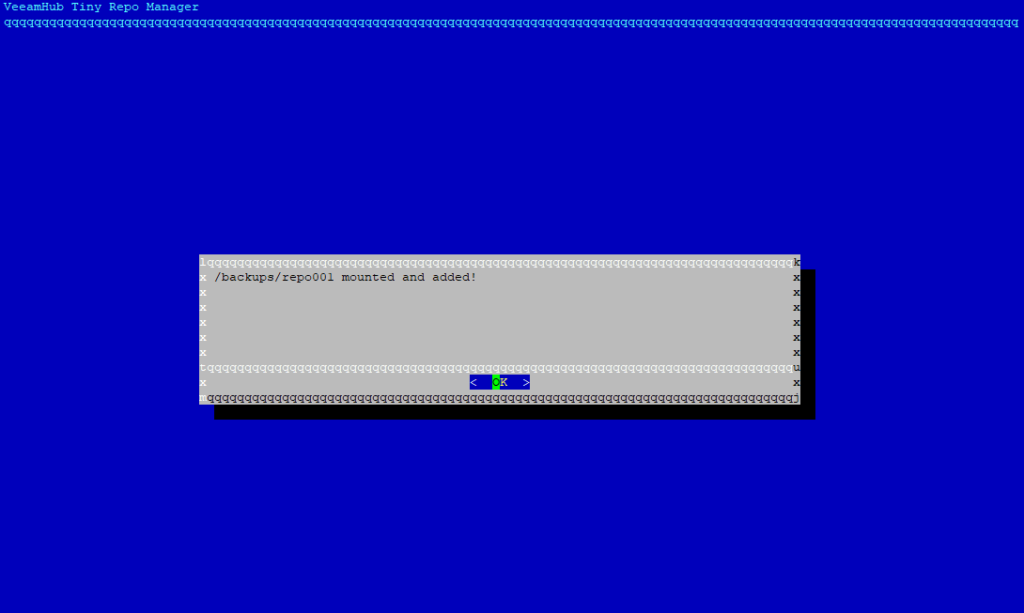
If you want to change the path or route it is possible to edit it, in our case we will leave it by default in /backups/repo001 and we will select “OK” to confirm the creation and mounting:
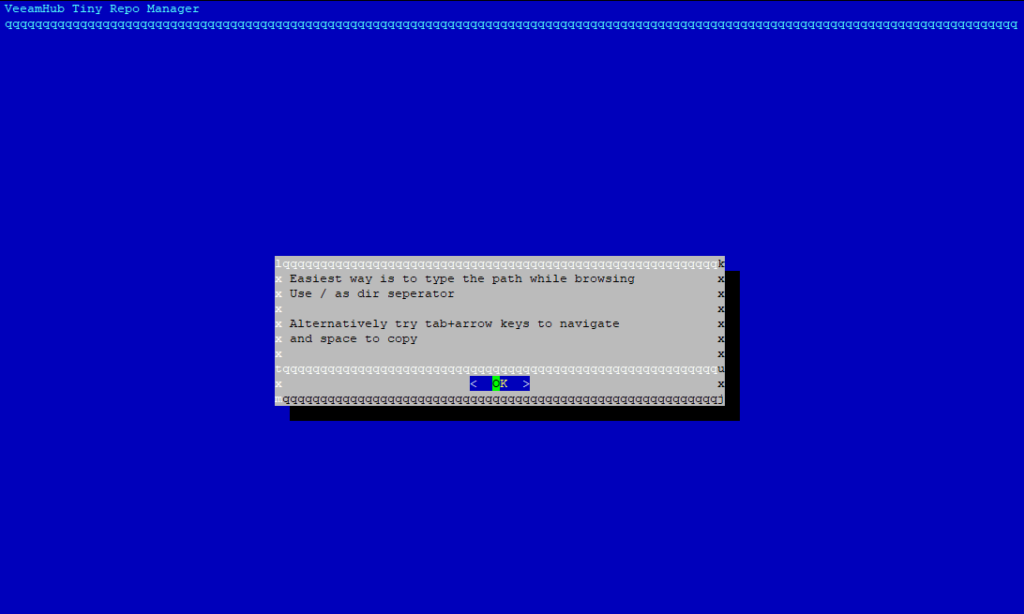
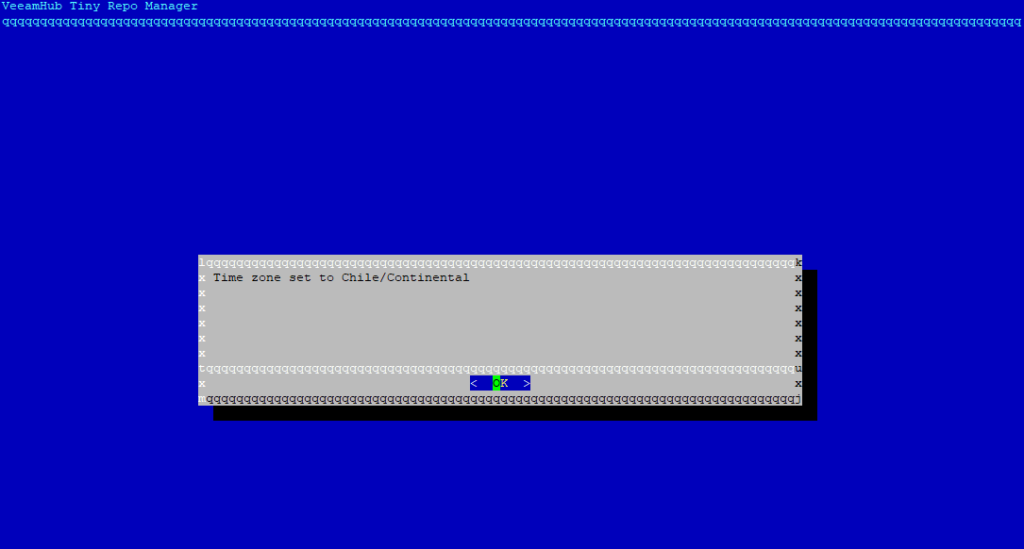
After the configuration of the disk where the backups with immutability characteristics will be stored, there is a very important part to configure the time and time zone and we select “Yes”:

In my case I will select:
/usr/share/zoneinfo/Chile/Continental
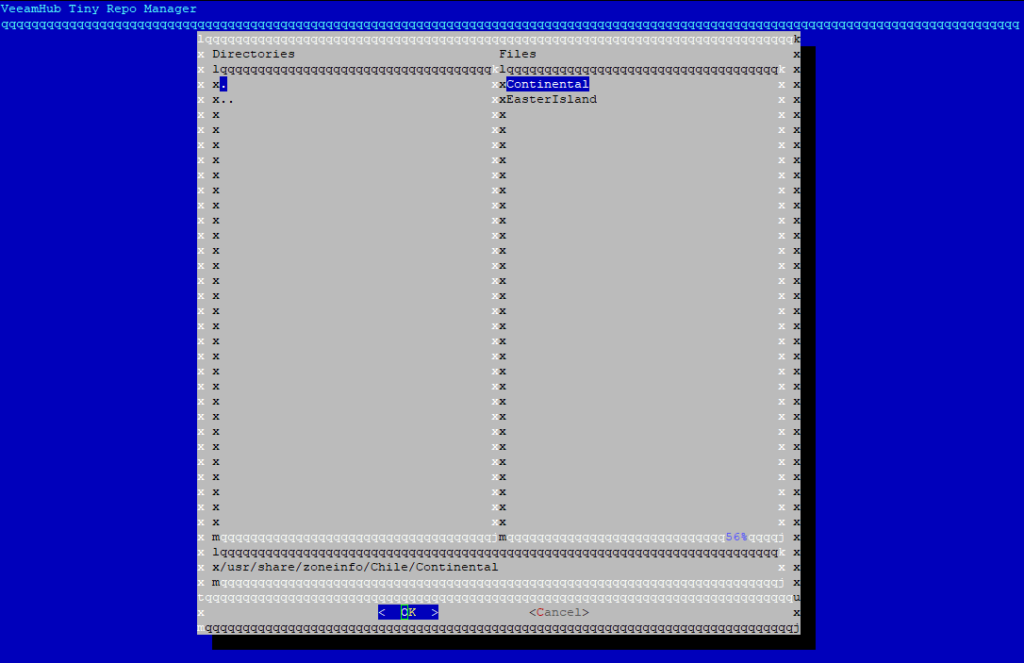
Selecting and pressing Enter on “OK” will confirm the configuration:
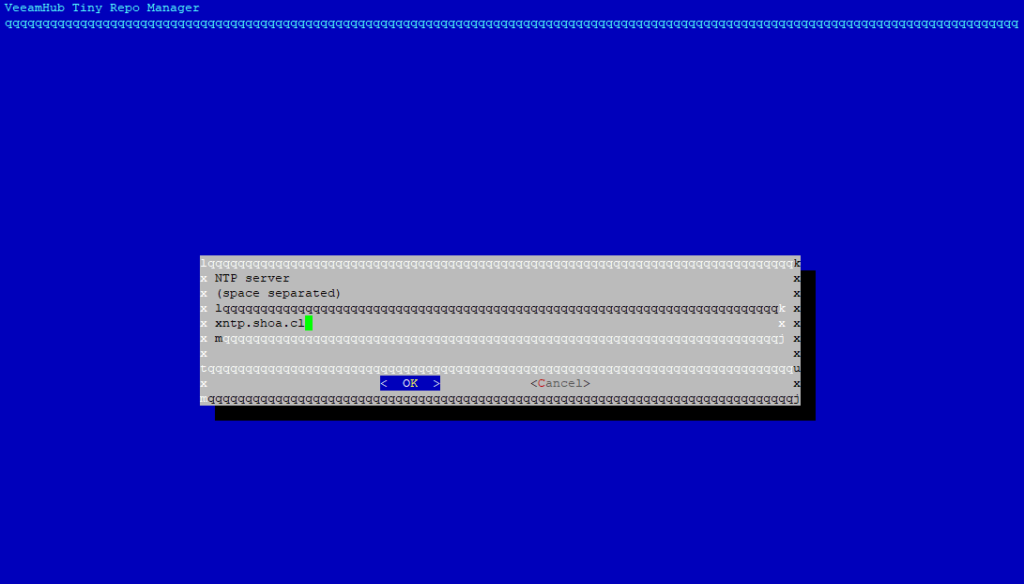
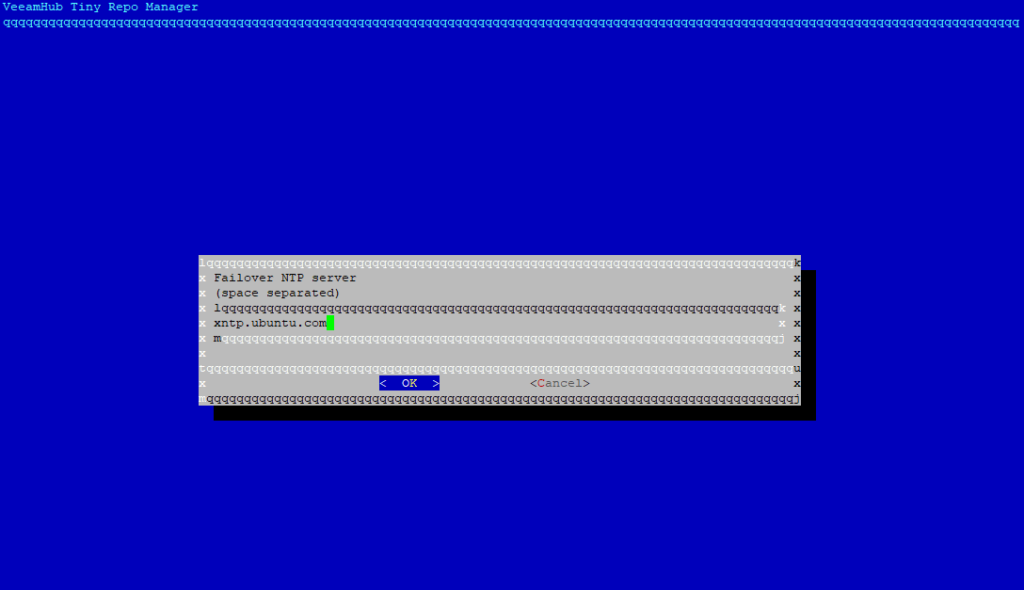
Then when selecting "OK" it will ask us for our NTP service, which can be local or via the internet
Then it will show us if we want to update
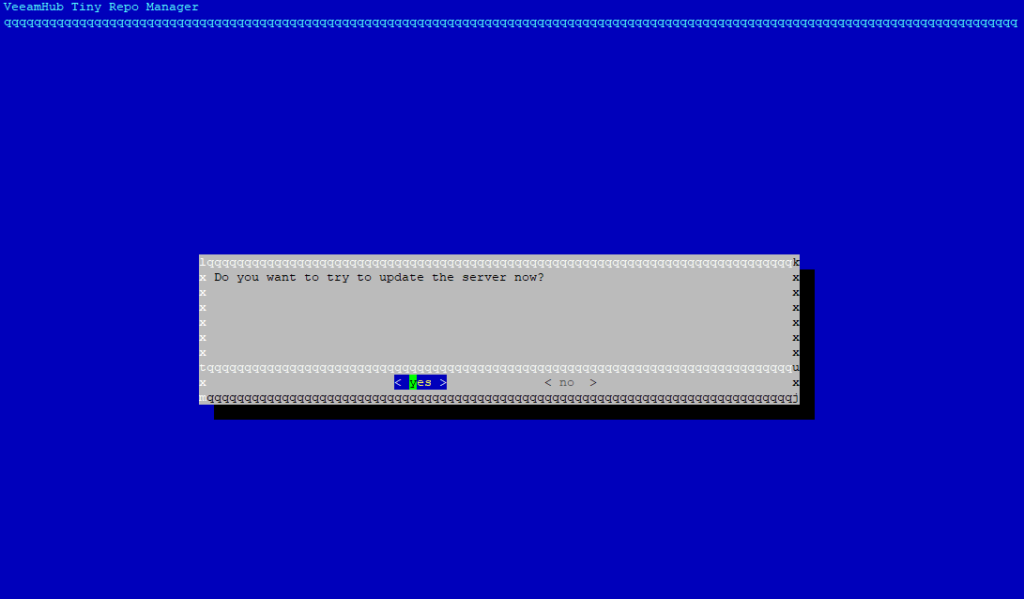
At the end you will lose coneconnection with the server, therefore we coneWe will connect through the vCenter Web console and execute the command:
sudo veeamhubrepo
Access without SSH
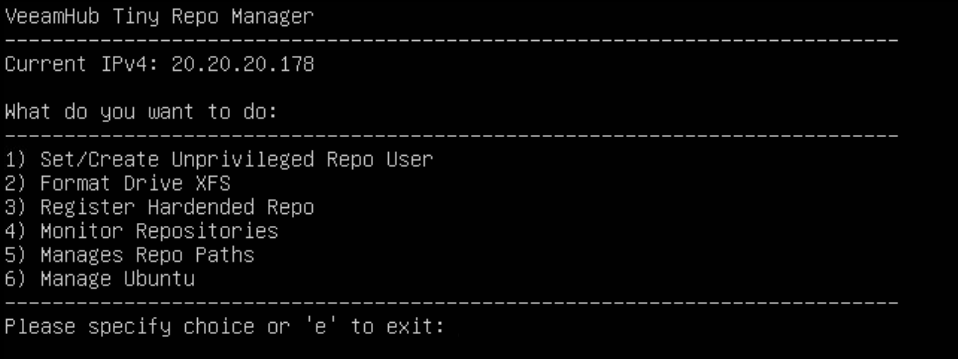
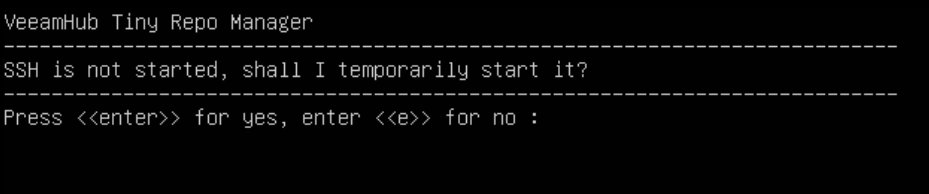
And we will proceed to Register our new repository, selecting option "3" and confirm that the SSH service starts:
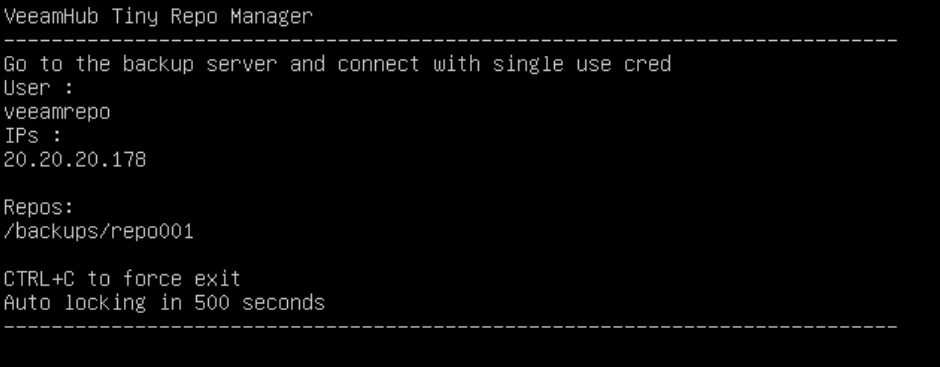
And it will tell us that we coneLet's connect with the credentials we created earlier from Veeam Backup Replication and add it as a repository:
Repository Creation Veeam Backup & Replication
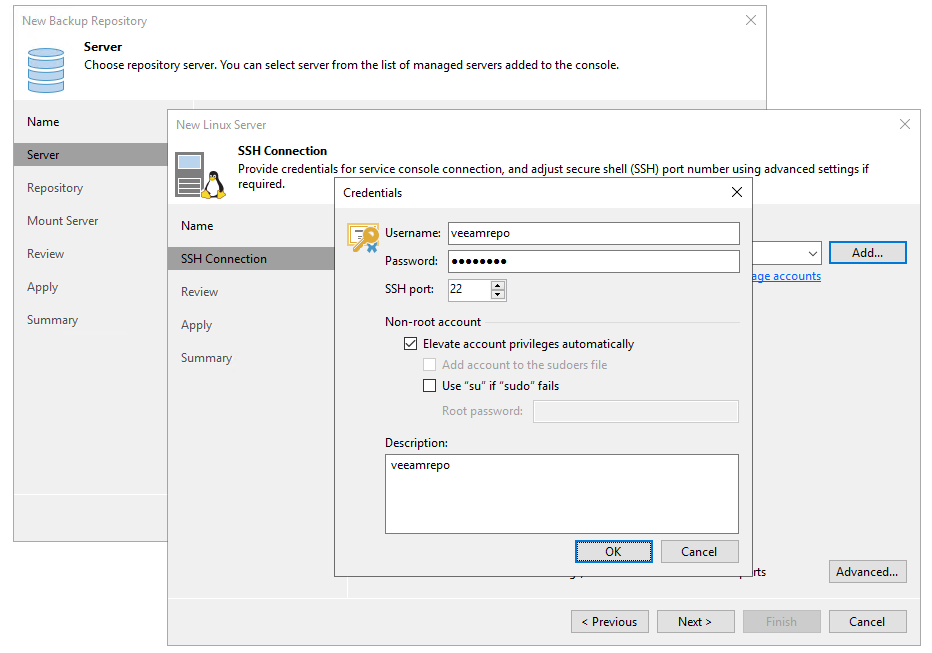
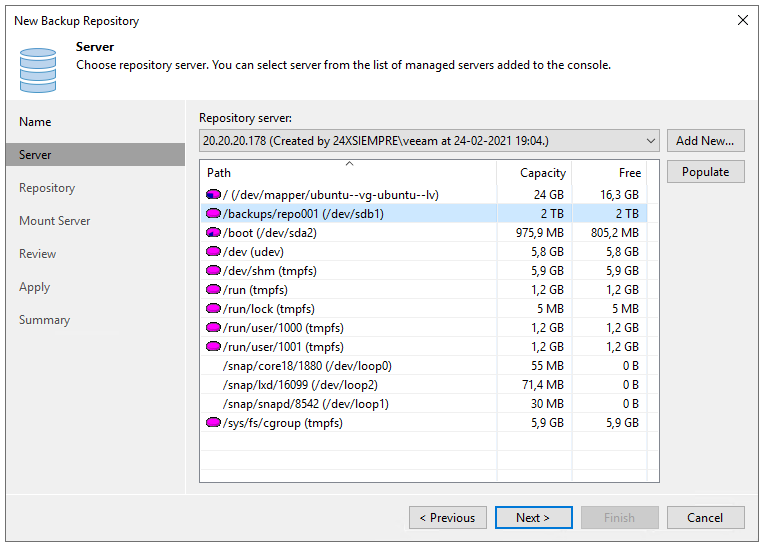
From Veeam Backup & Replication, we will add the repository:
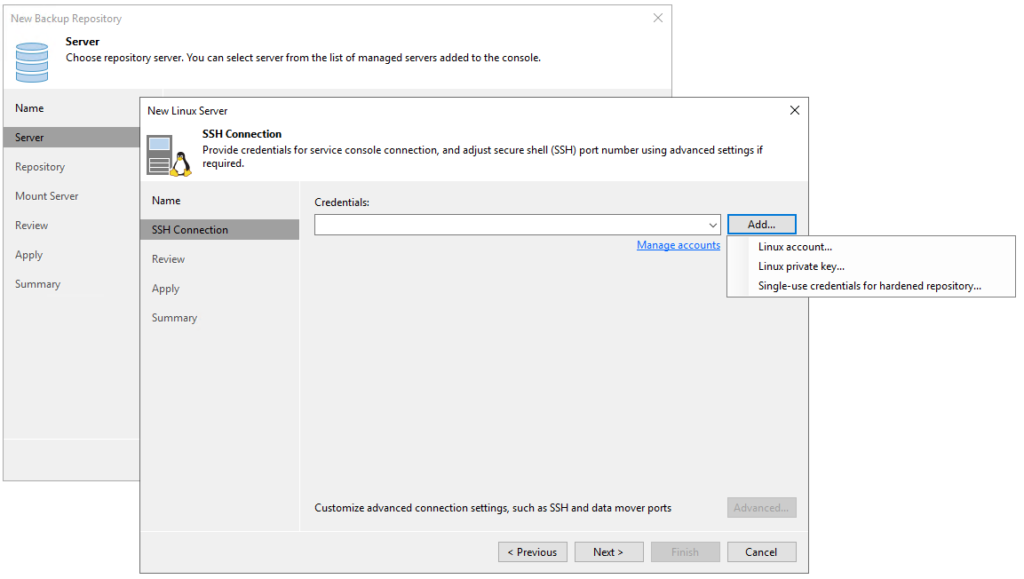
And as we see in the previous image we will select “Single-use credentials for hardened repository…” in we enter the credentials
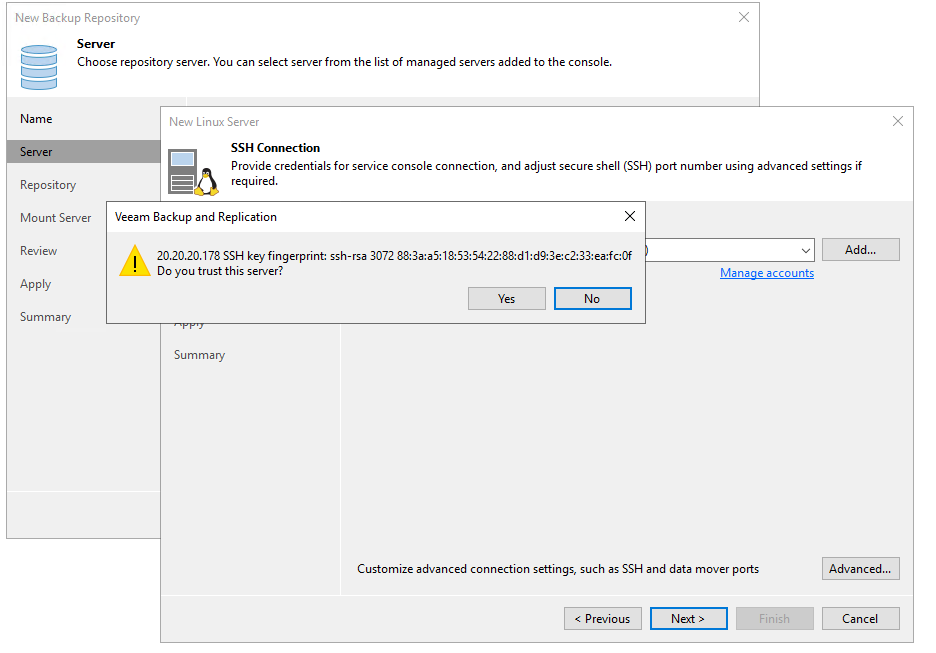
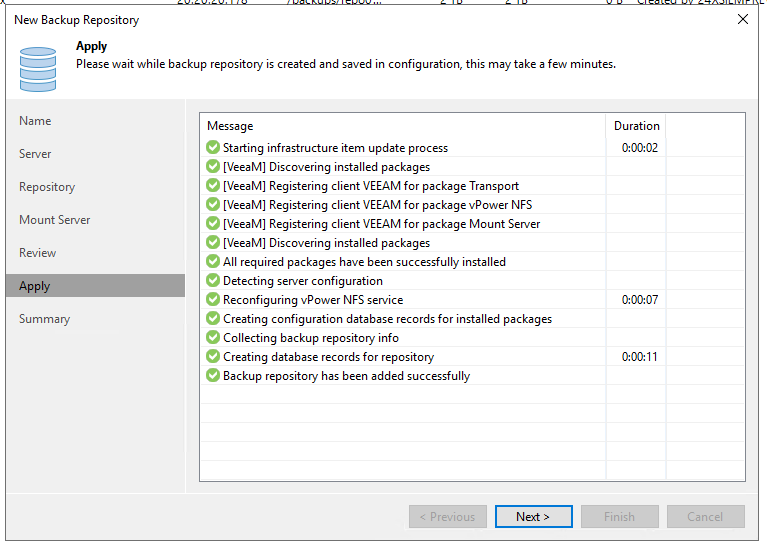
Then we click on “Next” and confirm:
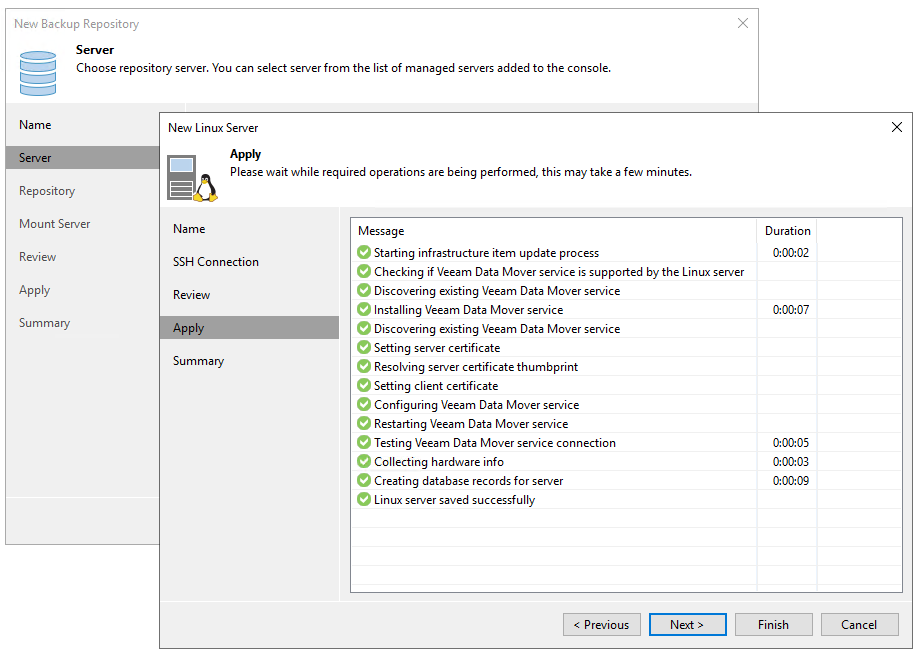
To finish viewing the configuration summary:
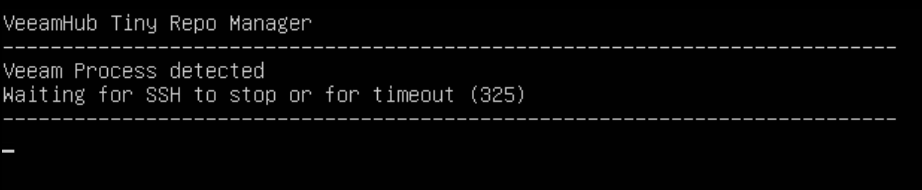
While setting from Veeam Backup & Replication the Repo Manager utility detects the process of Veeam
And then we continue with the repository configuration by selecting the partition to host the backups
And here is the most important part for this type of repository, this tool configures the partition with XFS enabling reflink to take advantage of the features when we perform Synthetic Full for example and also enable the option to make backups immutable for any number of days necessary, default is 7 days:
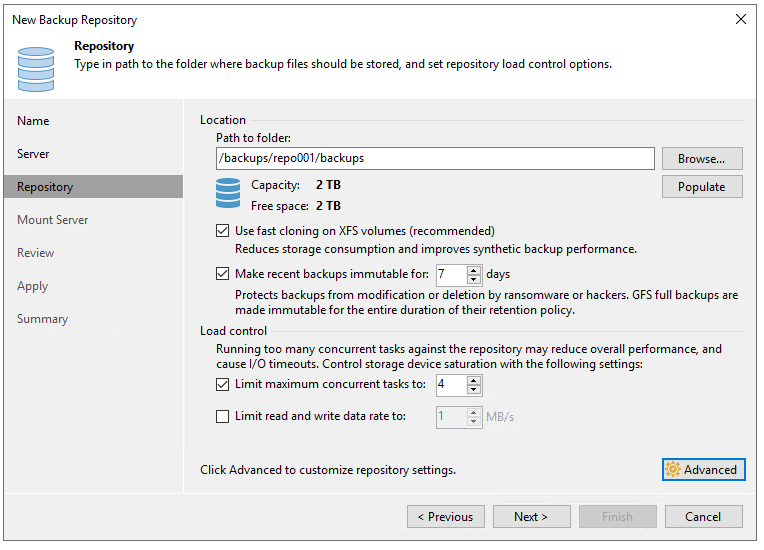
This is where the magic appears, as you can see in the previous image
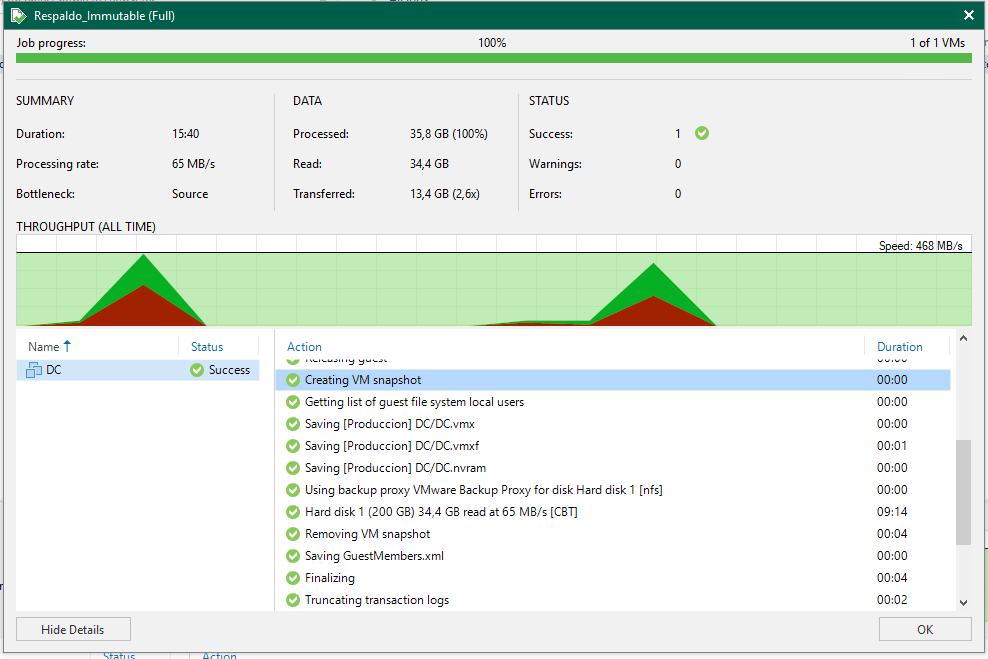
Then we release a new backup to the new Hardened Linux Repository
Testing Elimination Backup
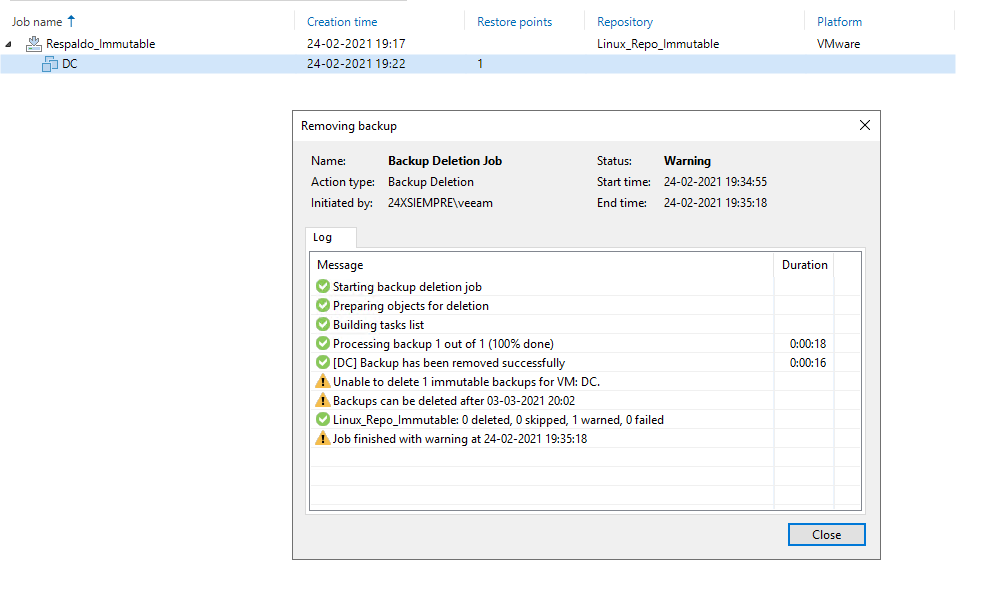
Since we have a backup in the repository and we previously enabled immutability in the repository, we will check if it is possible to delete backups, so in Veeam Backup Server, we will go to the backup and delete the file:

After confirming the deletion, the operation status window appears where we will observe that it is NOT possible to delete the backup file and also indicates the day (03/03/2021 20:02) when this immutability is deactivated, since it we enable for 7 days:
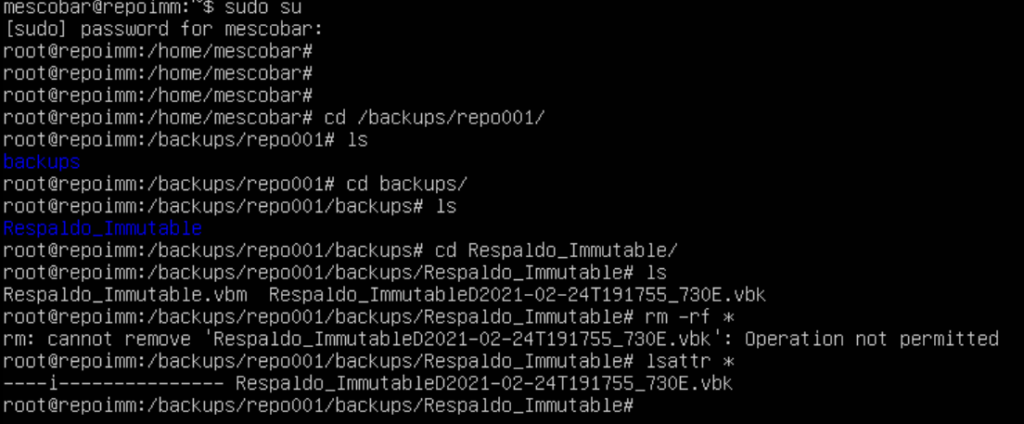
Even if you access the server you will not be able to delete the file since it has the advanced parameter +i that even root cannot delete.
I know what you are thinking right now, and if root removes the +i parameter, and delete, if possible, the important thing here is that the credentials of this server and the access methods are totally restricted so that from the network no the backup files are reached and deleted by some malicious agent.
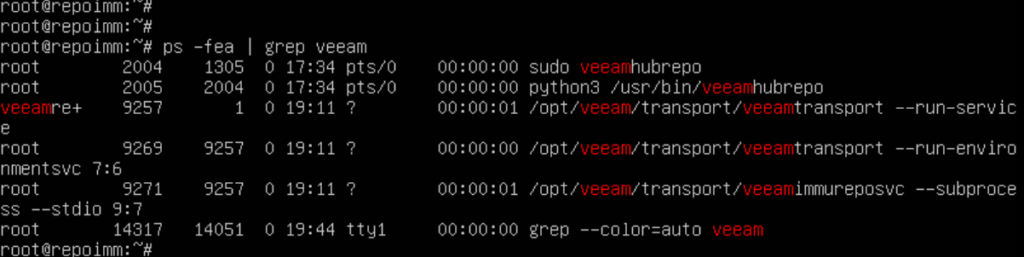
In addition, this solution maintains a daemon on the linux server to use the immutability logic and make changes according to the days of immutability that you have configured.
With this we finish this post in detail for the immutability configuration with the new type of repository for Veeam Backup & Replication called Linux Hardened Repository.